In the following material, we explore the Media menu item of Shopware 6 administration. This section lets you upload and manage media files, sorting them into folders. Below, we shed light on how to find your Shopware 6 media library and how to upload files to Shopware 6.

Note that we provide Shopware integration with external platforms. Contact our support for further information or try our Improved Import & Export Extension for Shopware. We can even import your products to Shopware 6.
Table of contents
Shopware 6 Media Library
Your Shopware 6 media library is situated under Content -> Media. The files stored here are used everywhere on your website.
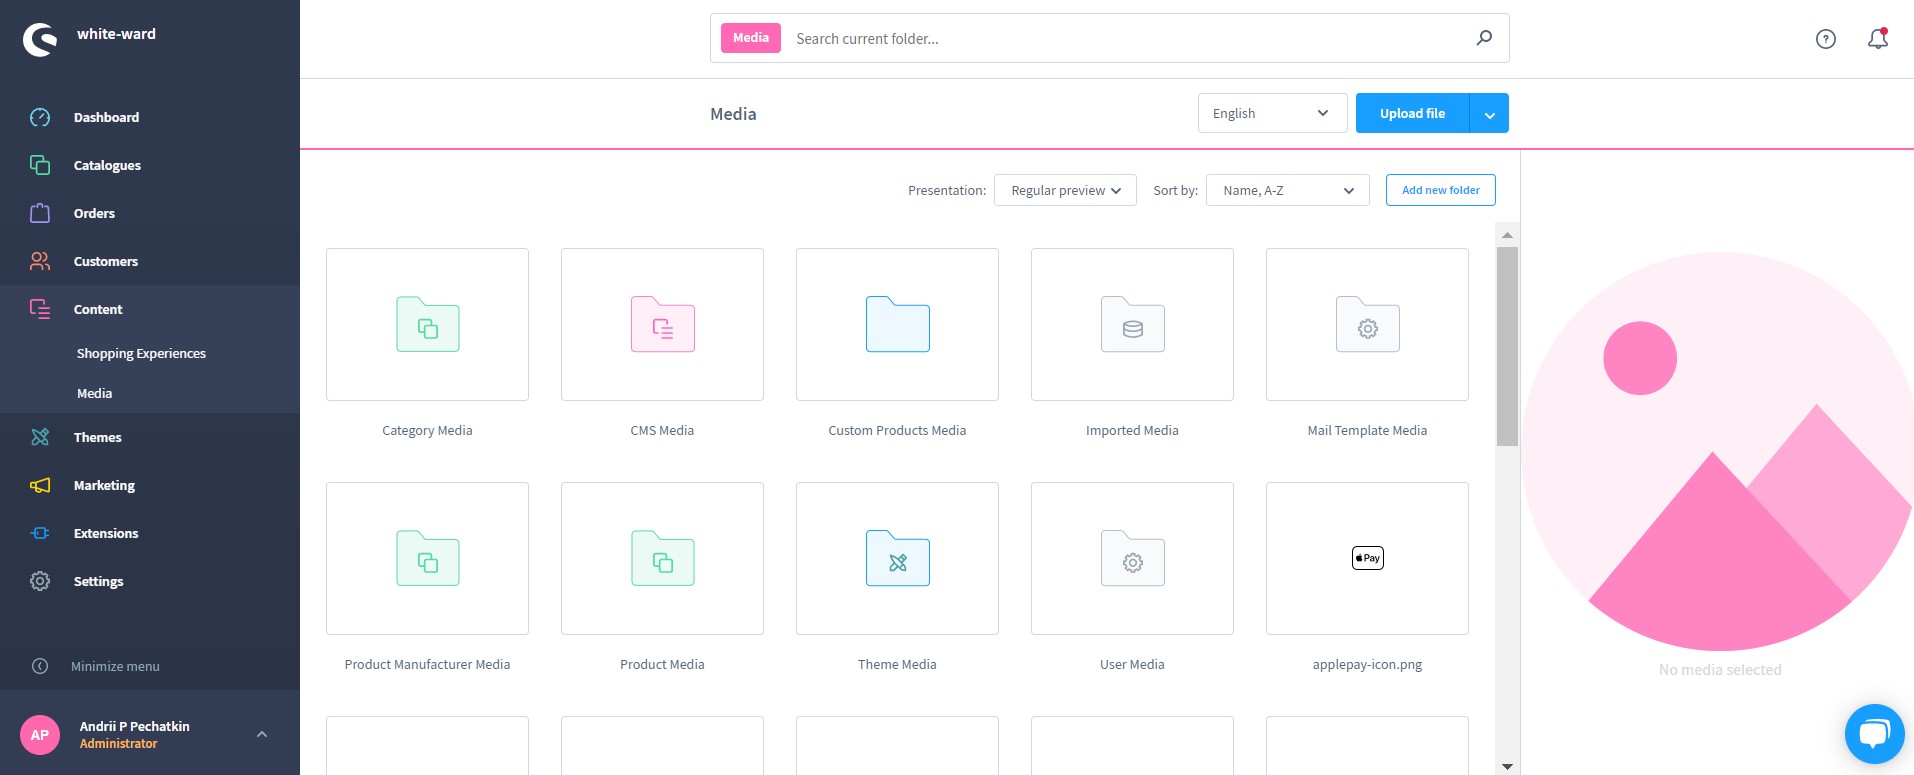
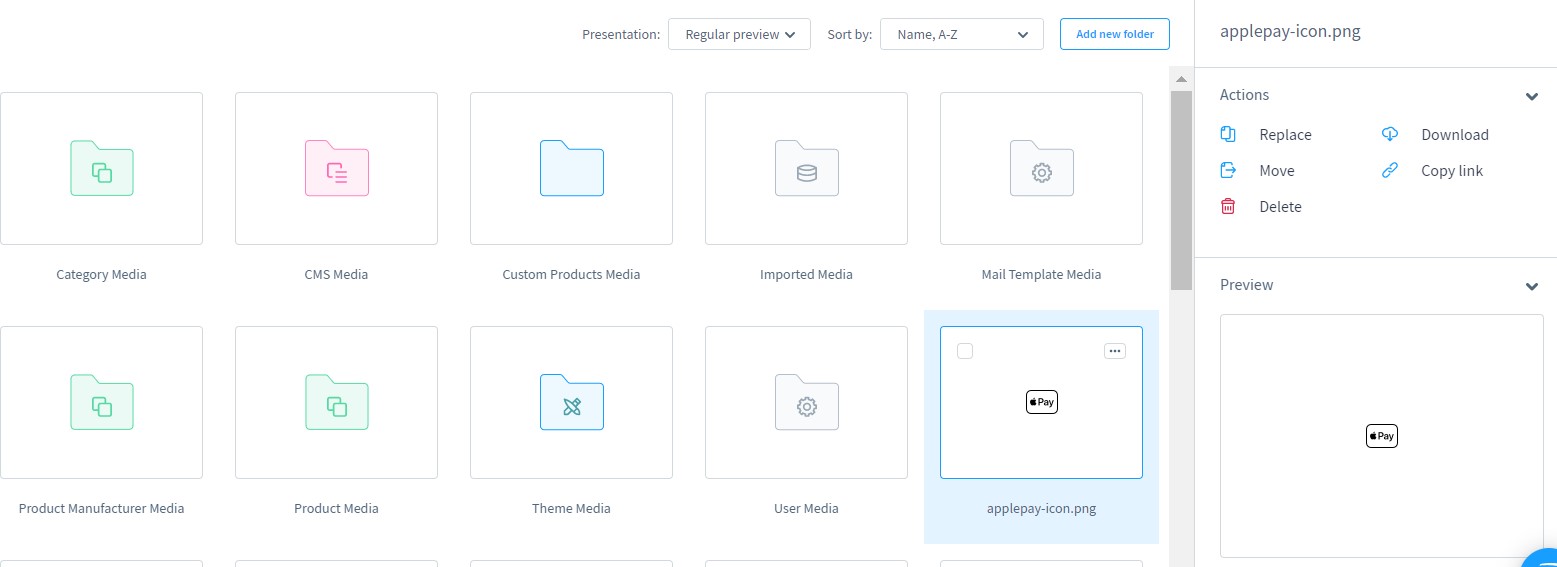
As for the section, it contains folders with files and separate images. On the right, you can see a preview section. Select a file, and you will see its thumbnail and additional actions:
- Replace;
- Download;
- Move;
- Copy link;
- Delete.
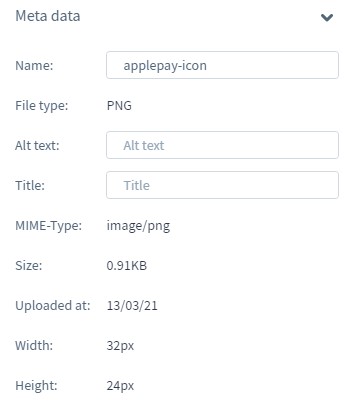
Besides, there is a section with meta data below. It lets you edit a file name, alt text, and title. Besides, you can view a file type, MIME-type, size, upload date, width, and height.
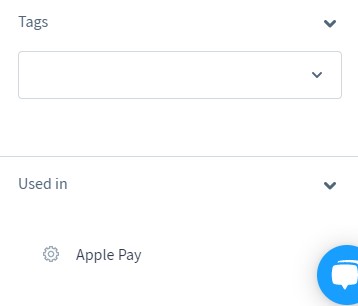
Two more sections are Tags and Used in. The first one shows tags associated with the image, while the second one displays where the file appears.
If you select a folder, Shopware opens it and displays two sections: Actions and Meta data. The first one lets you move, dissolve, or delete the folder as well as proceed to its settings. The second one displays a folder name and upload date.

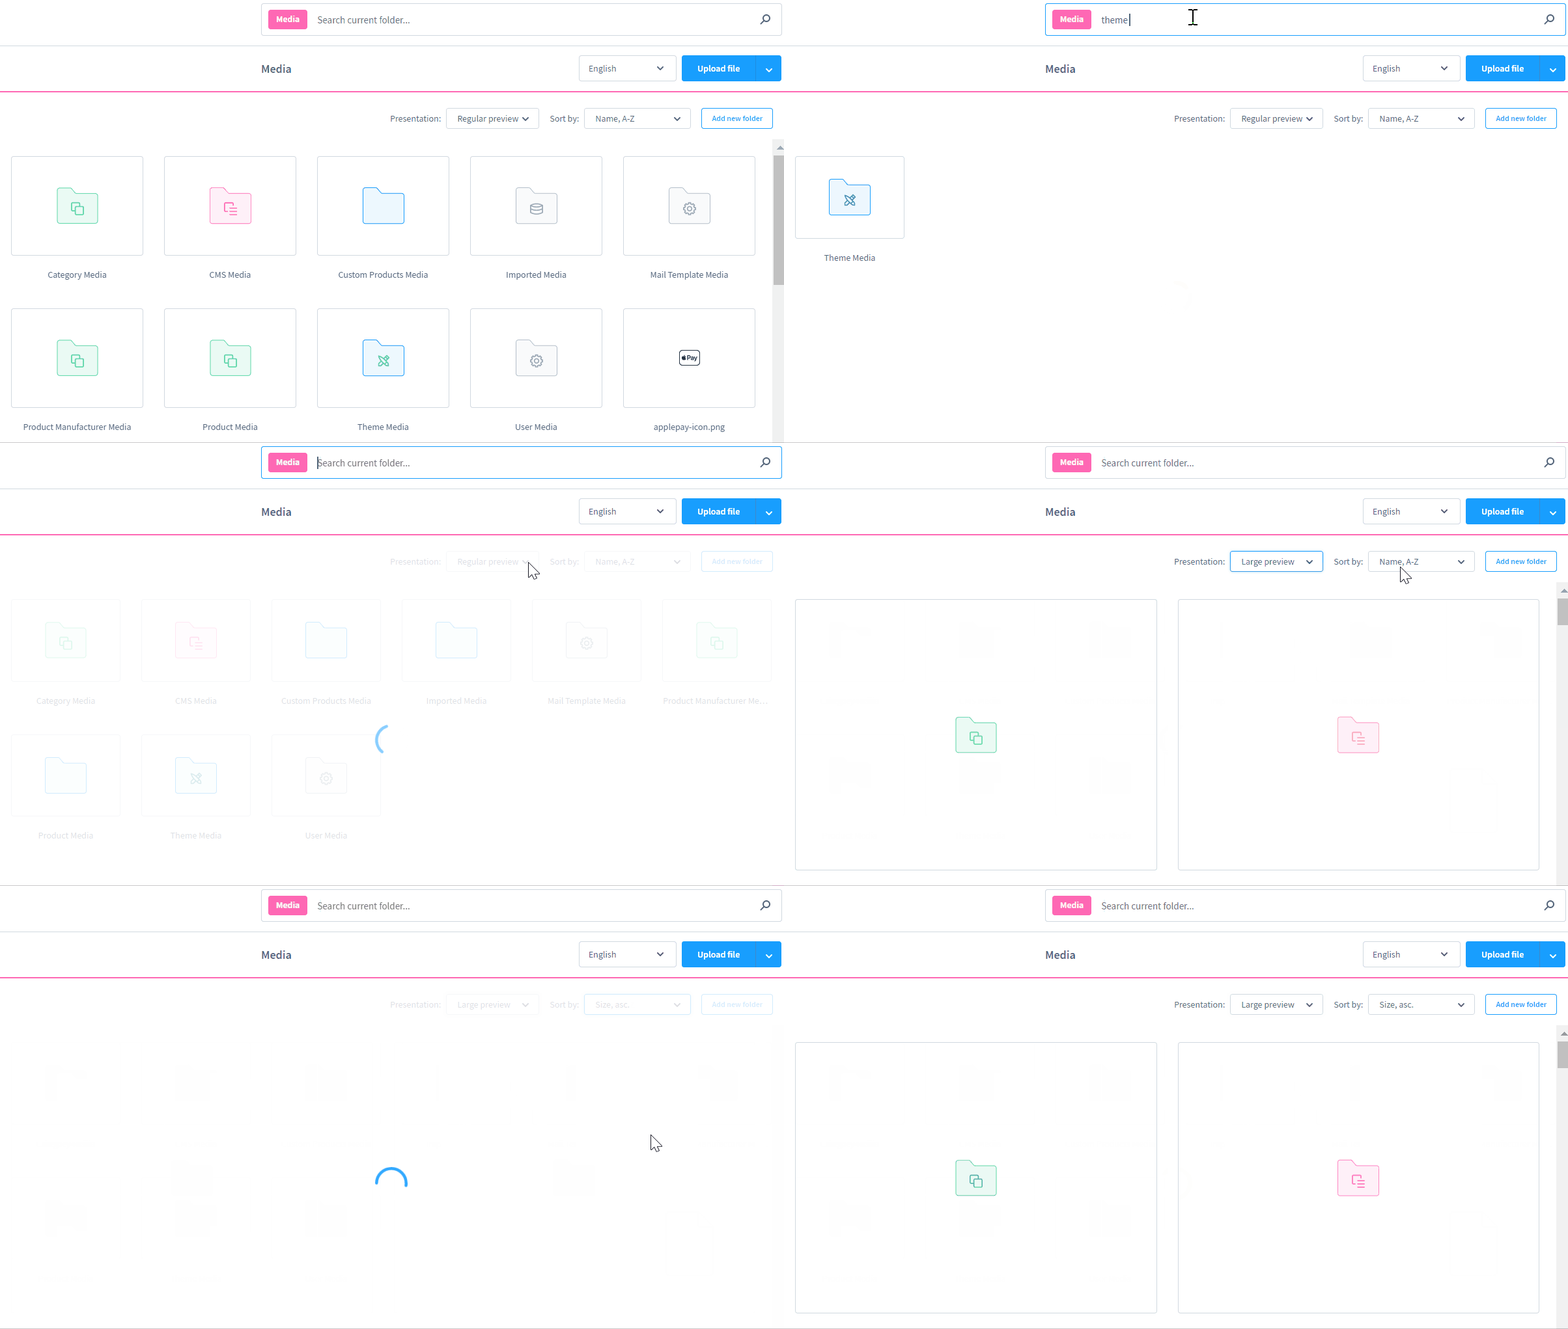
The search field at the top lets you quickly find any file or folder you want. Besides, you can switch between several preview types and choose different sorting options.
How to upload files to Shopware 6
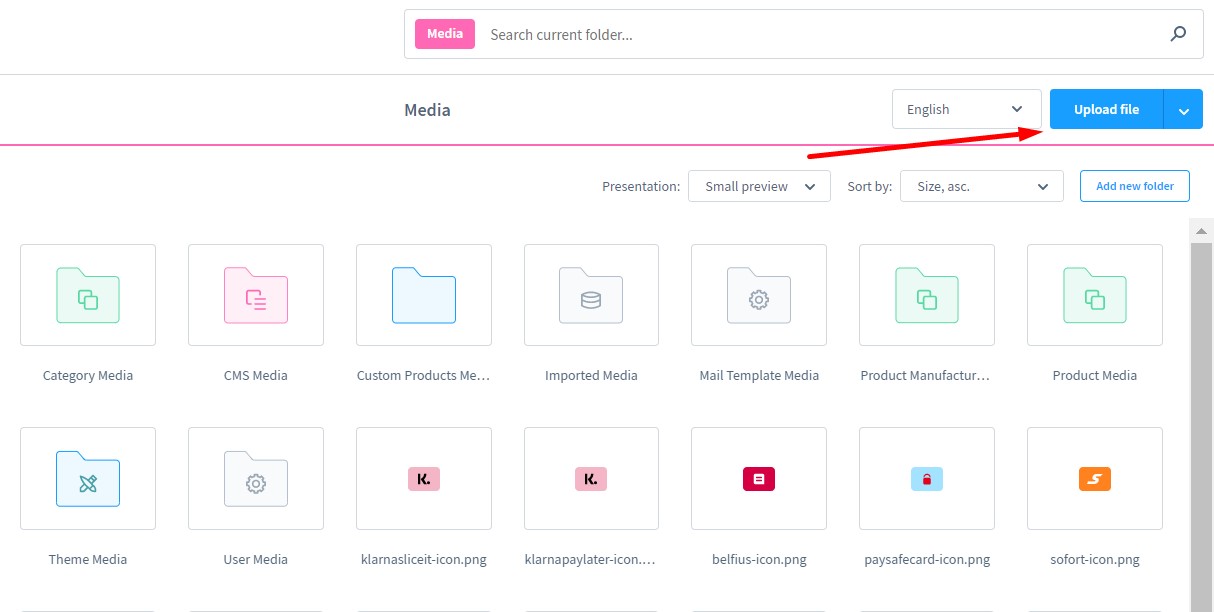
You can upload images to Shopware 6 as follows:
- Go to the Media Overview page;
- Click the Upload File button;
- Choose a file you want to upload.
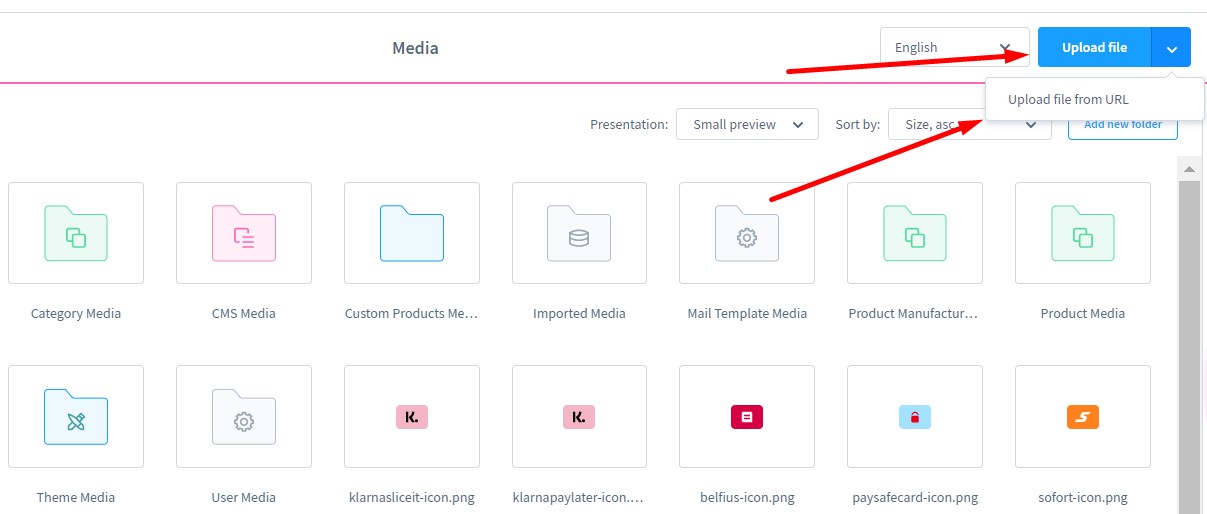
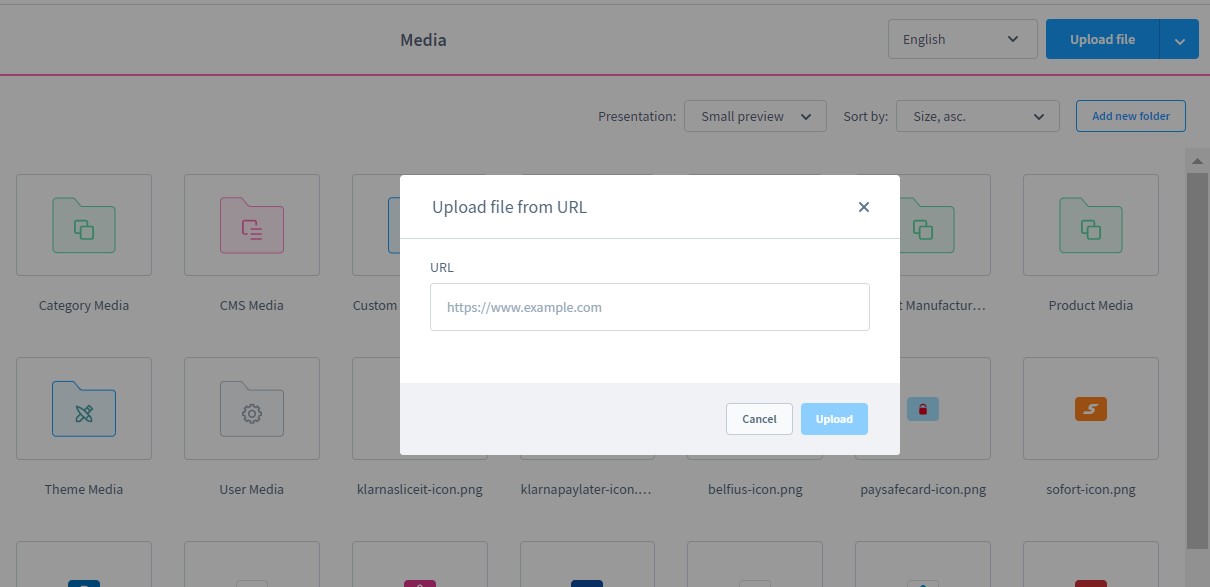
Alternatively, you can click on the arrow button to upload a file from the URL.
Supported file formats
Shopware 6 supports the following formats when it comes to its media manager:
- Images:
- jpg,
- jpeg,
- png,
- webp,
- gif,
- svg,
- bmp,
- tiff,
- tif,
- eps;
- Video:
- webm,
- mkv,
- flv,
- ogv,
- ogg,
- mov,
- mp4,
- avi,
- wmv;
- Audio:
- aac,
- mp3,
- wav,
- flac,
- oga,
- wma,
- Text:
- pdf,
- txt,
- doc.
How to configure files in Shopware 6 media library
As we’ve already mentioned, selecting a media file in your administration activates a screen with actions. Therefore, you can manage your Shopware 6 files as follows:
- Replace an already uploaded file with another one (you upload it in the next step);
- Initiate the download of the selected files;
- Move the selected files to a new folder;
- Copy link from the selected file;
- Delete the selected file.
The Preview section lets you display the selected media.
The metadata of the selected media file is partly editable. You change the file name, alt-text, and meta-title.
Besides, you can set up tags and view where in your shop you are using the selected files. Note that you can access those places by clicking the corresponding links.
How to add folders to Shopware 6 media library
To optimize your daily workflow, Shopware 6 lets you place media files into folders. The system lets you create as many folders and subfolders as necessary. You can do that as follows:
- Go to the Media screen;
- Click the Add new folder button (you can do that at the exact place in the folder structure, where you need a new folder);
- Name your new folder.
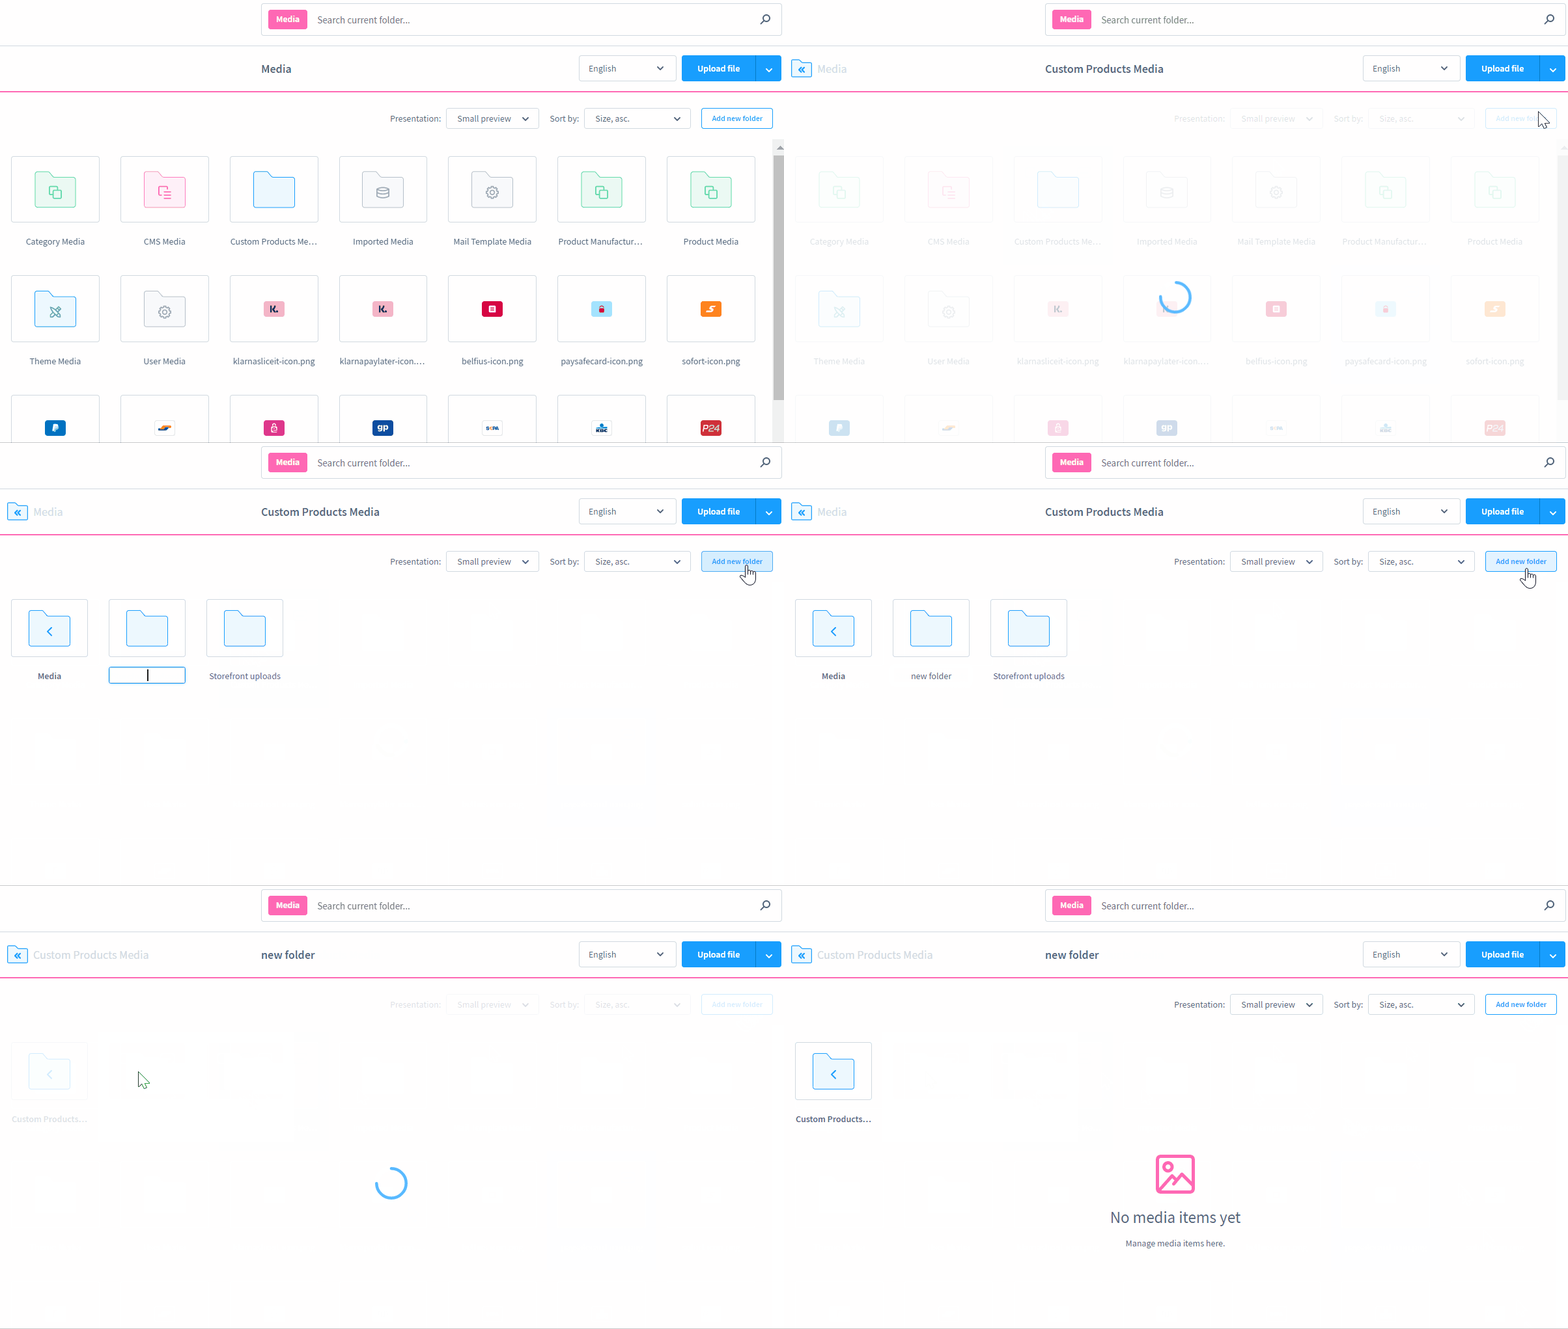
That’s it! You’ve just created a new folder in your Shopware 6 administration.
Click on the Back icon to return to the previous level.
How to edit folders in Shopware 6
As with the media files, you can find actions of the selected folder on the right. It is possible to move, dissolve, or delete the folder as well as proceed to its settings.
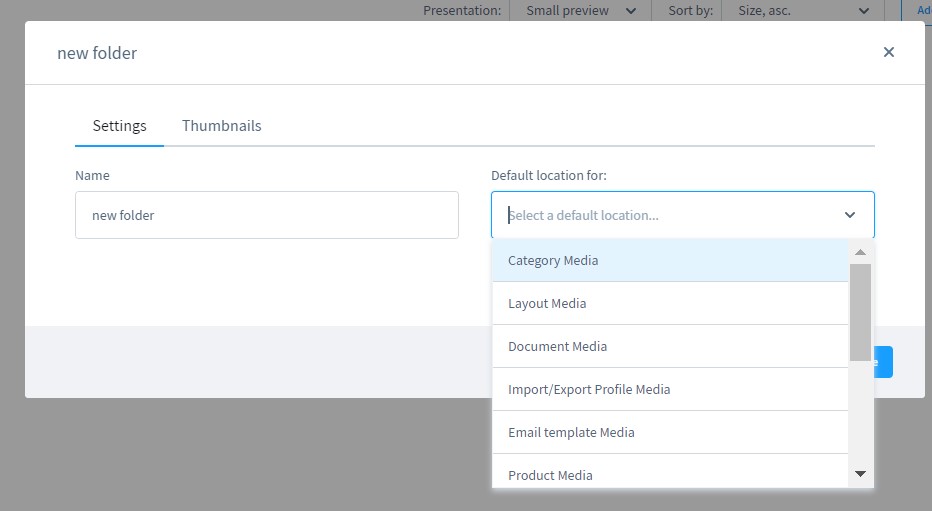
The settings section is divided into the general settings and the thumbnail settings.
The general settings section lets you change the folder name or specify media files for which the folder should serve as a default location: category, layout, documents, etc.
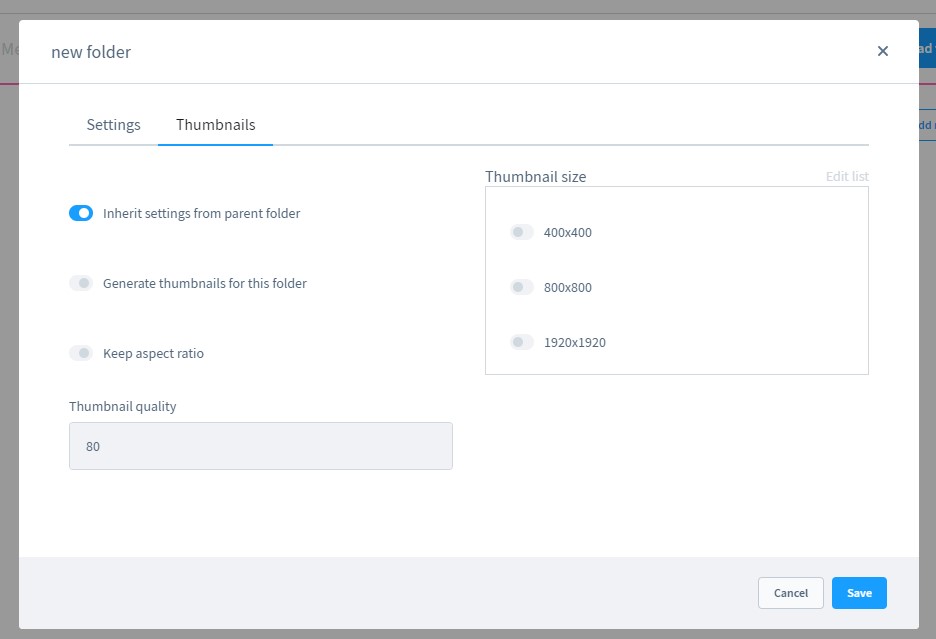
As for the thumbnail tab, it lets you define settings for the thumbnails used within the system and on the storefront. You can enable the Inherit settings from the parent folder feature to apply the thumbnail settings of the parent folder to the current folder. The Generate thumbnails for this folder tool lets you activate or deactivate thumbnail generation for this folder. With the Keep aspect ratio instrument, you can preserve the aspect ratio of the original image, ensuring that square thumbnail settings do not distort a rectangular image.
In the Thumbnail quality field, Shopware 6 lets you determine the quality of your thumbnails. Note that 100 is the highest possible quality, and 1 is the lowest.
The Thumbnail Size section empowers you to define sizes for creating thumbnails. The Edit list link in the upper right corner can help you add new thumbnail sizes or remove the existing ones. Note that the active lock symbol keeps width and height always the same.
How to Import Media files to Shopware 6
Our team lets you simplify and automate various routine processes associated with managing your Shopware 6 backend by importing the existing data. Contact our support for more details and try our Improved Import & Export Extension for Shopware. You can use it to import any entities to Shopware 6. Please, consult our specialists before using the module for transferring media files to Shopware 6.


