
Categories on any e-commerce store let you define the menu structure of a website, putting products in a user-friendly and intuitive order. In the following article, we shed light on how to create categories in Shopware 6. The platform offers an intuitive way to organize all possible items in a catalog. In addition to creating Shopware 6 categories, we also discuss how to import them. More materials about the platform are available here: Shopware 6 Guides.

Note that we provide Shopware integration with external platforms. Contact our support for further information or try our Improved Import & Export Extension for Shopware. We can even import your existing categories to Shopware 6.
Table of contents
How to find categories in Shopware 6 administration
When it comes to catalog management, Shopware 6 offers quite flexible options. But before discussing them, we need to locate the main category page in your admin. You can reach your Shopware 6 category tree as follows:
- Open your main menu;
- Click on the Catalogues section;
- Choose Categories.
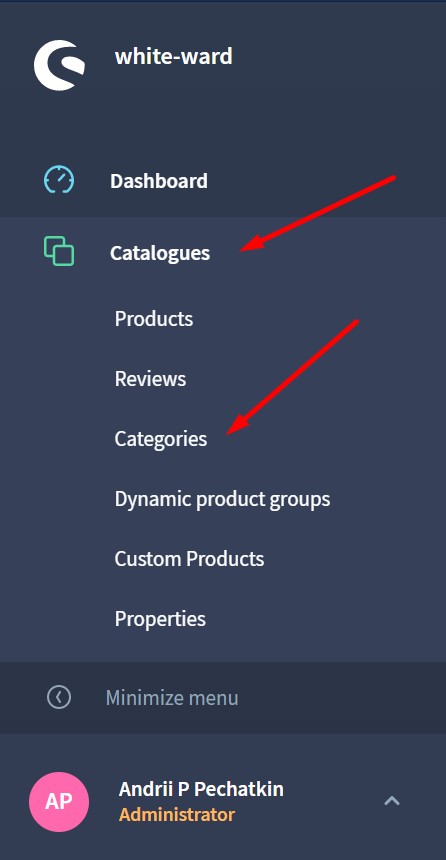
Congratulations, you’ve come to the Shopware 6 catalog page.
How to manage categories in Shopware 6 backend
Now, your screen displays a category tree. By default, it looks as follows:
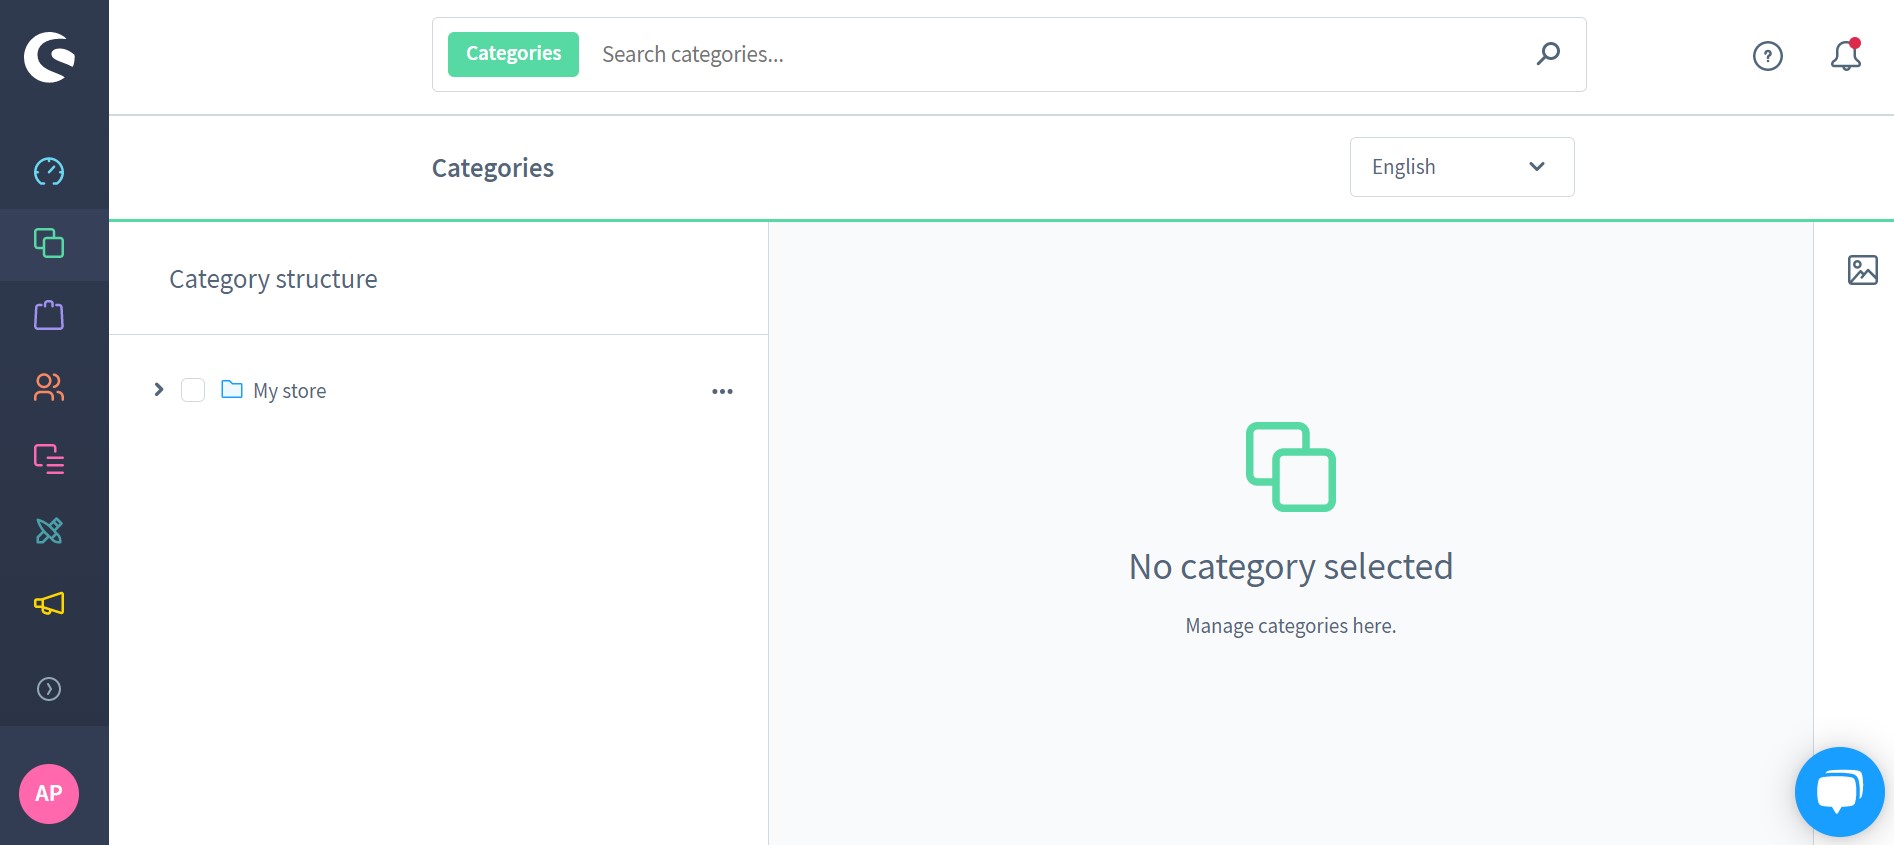
Select the top category and you will see the following transformation on the screen:
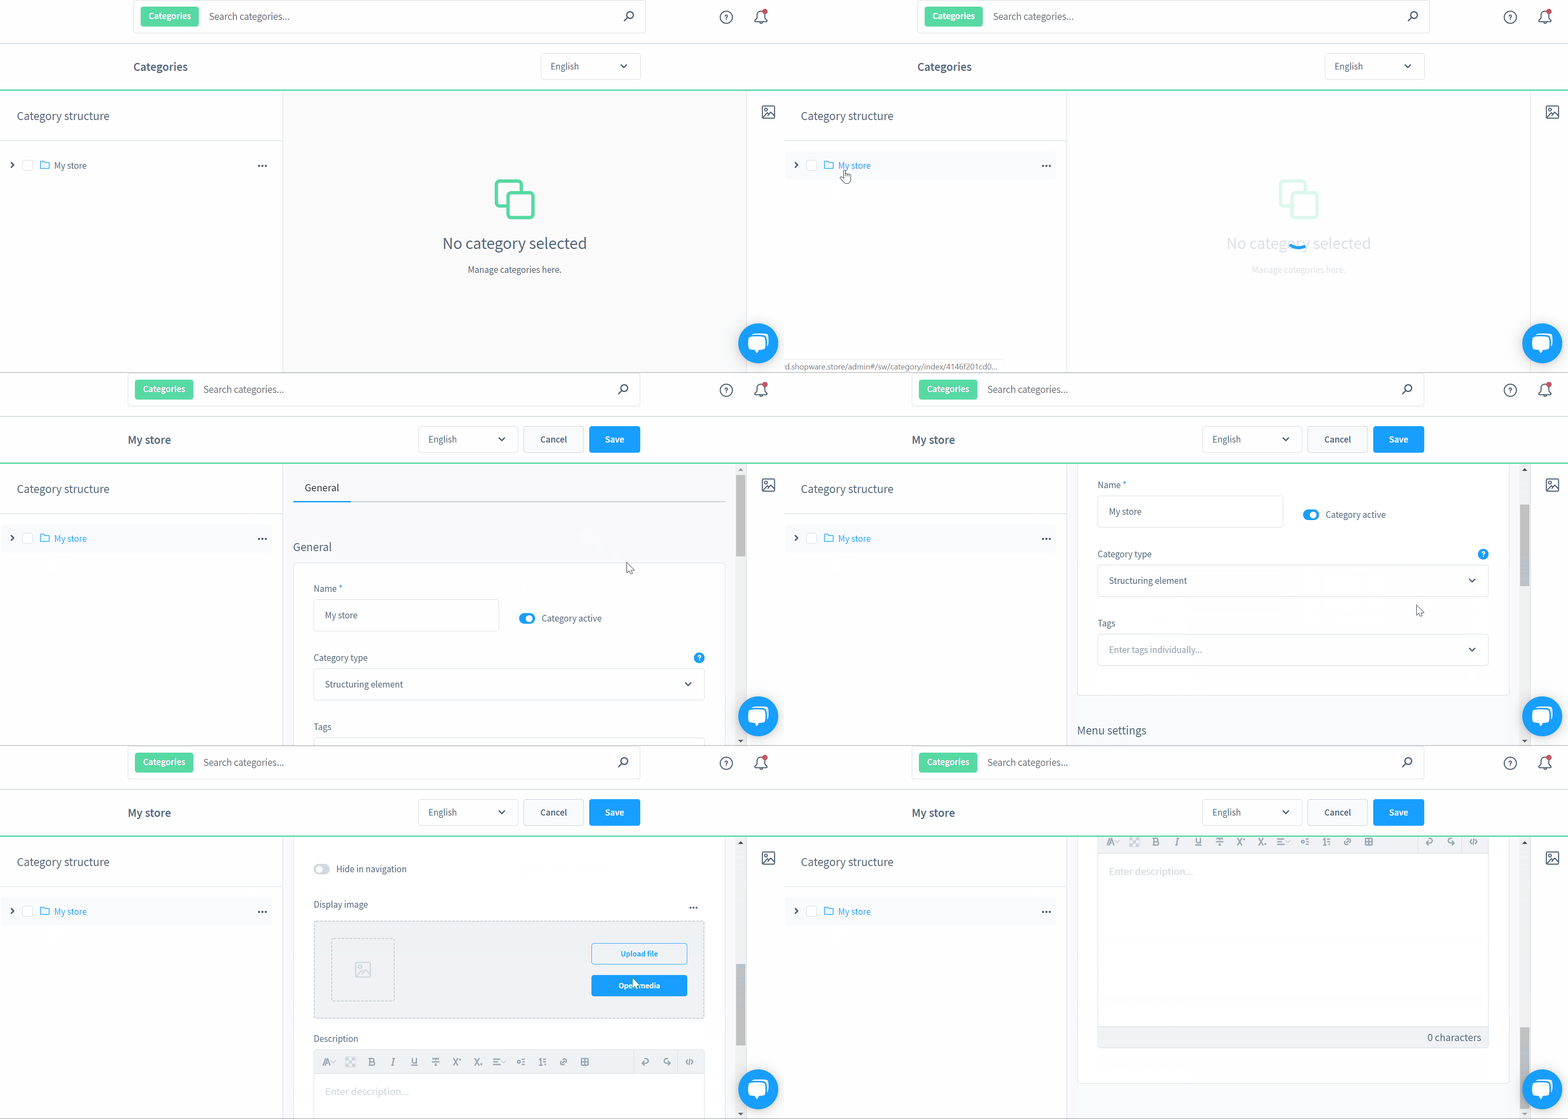
As you can see, the category section is divided into the following parts:
- General;
- Menu Settings.
Let’s see what happens in each of them.
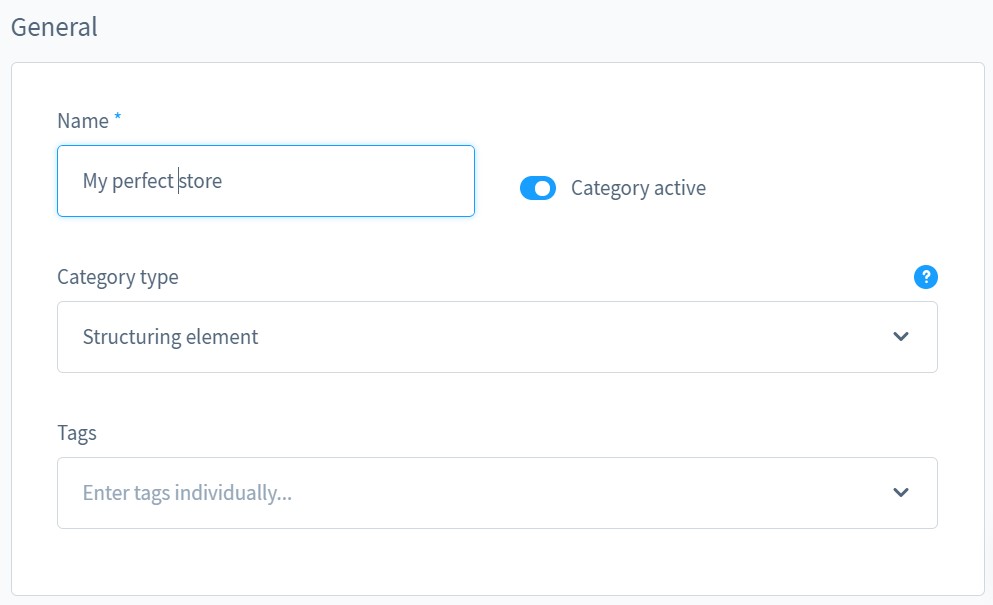
General
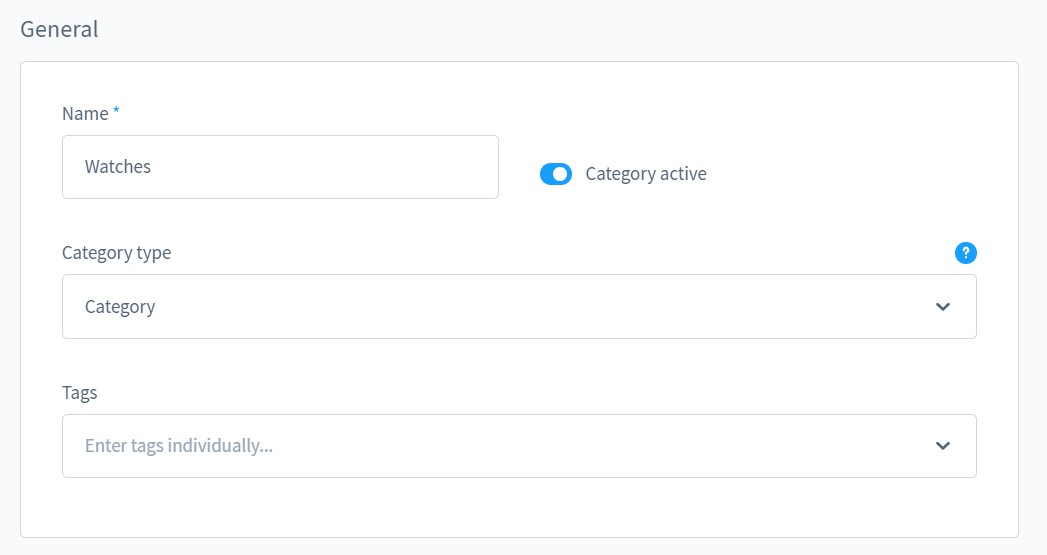
The General section lets you change your store name, enable/disable the category, choose its type (category, structuring element, or customizable link), as well as add tags.
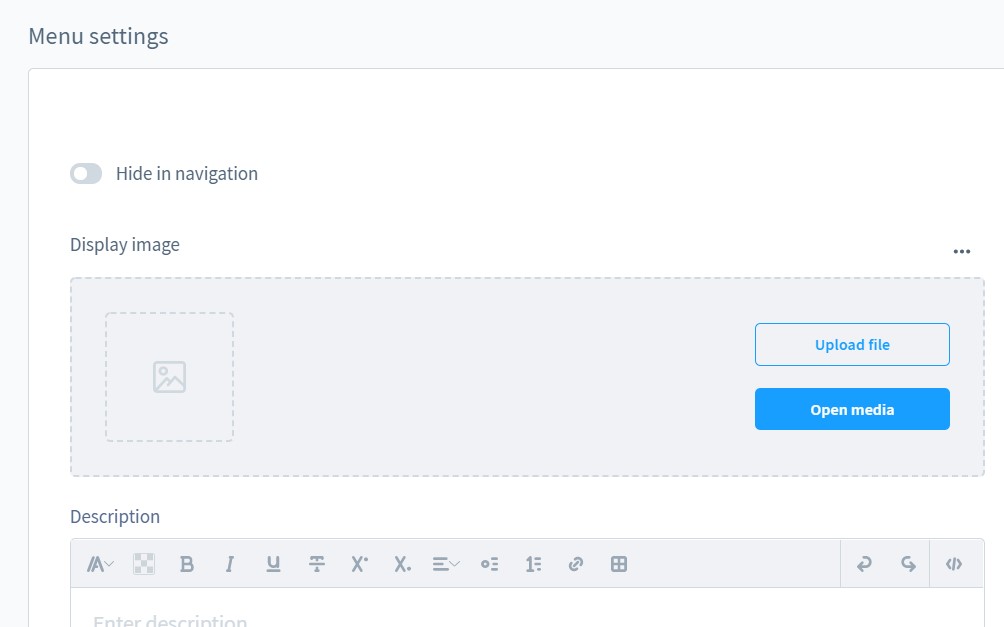
In the Manu settings, you can hide the category from navigation, upload its image, and add a description.
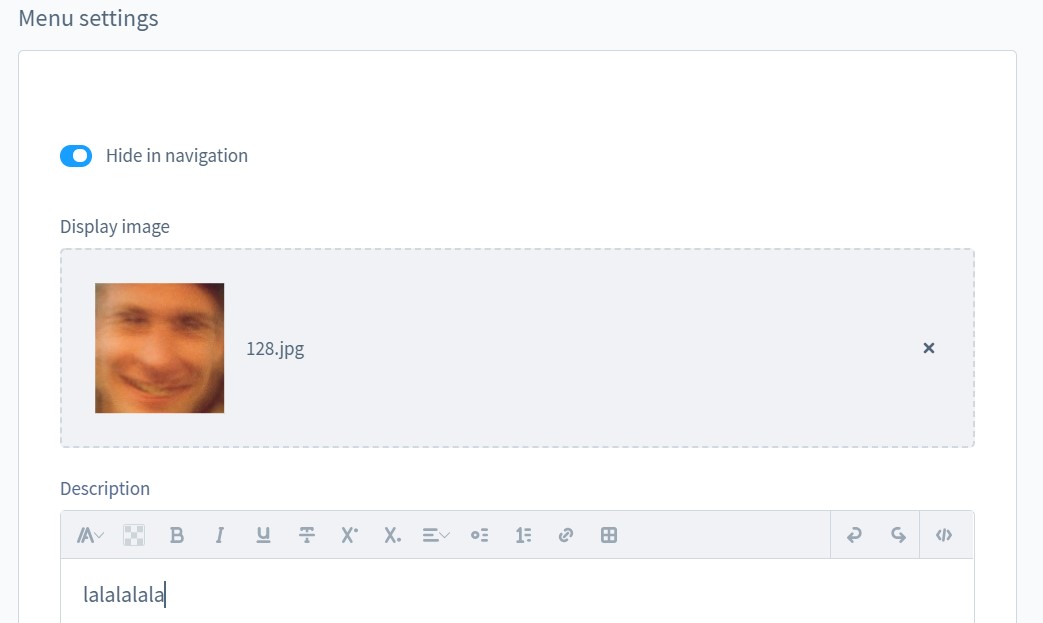
However, this structure is suitable for a particular category type. We will return to more complex categories later in this article.
Further editing
When you continue editing Shopware 6 categories, unfold your main category to see other elements: Click on the arrow on the left side of the category name.
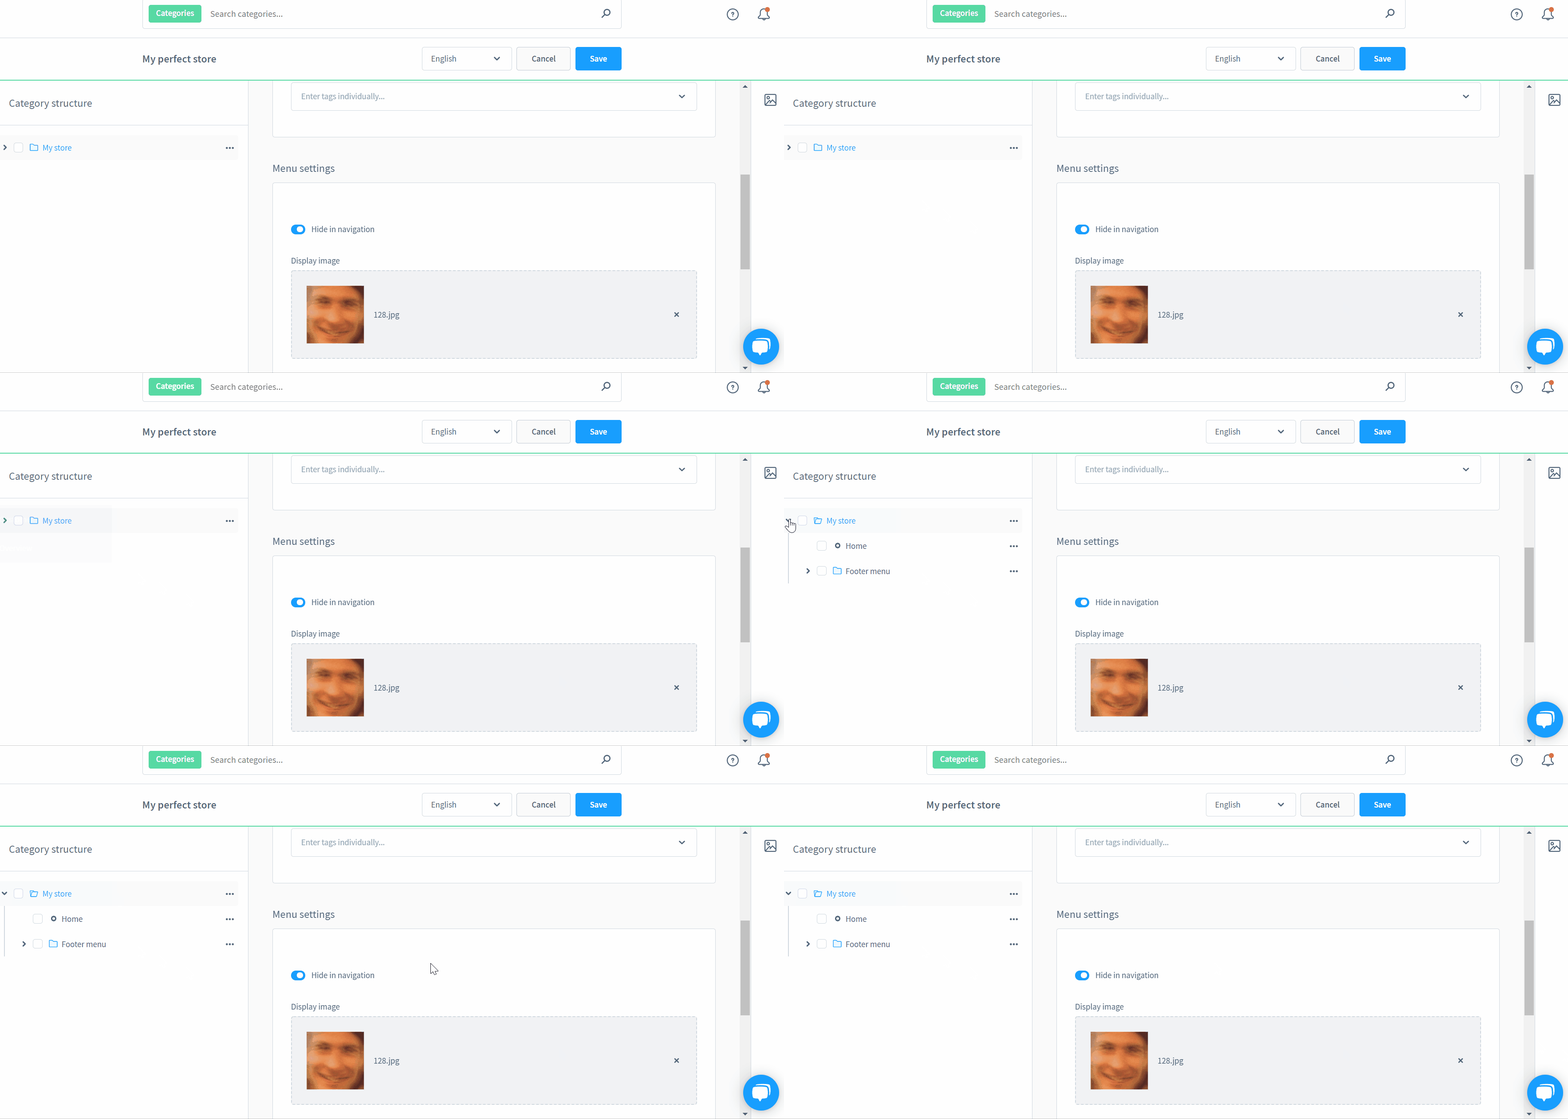
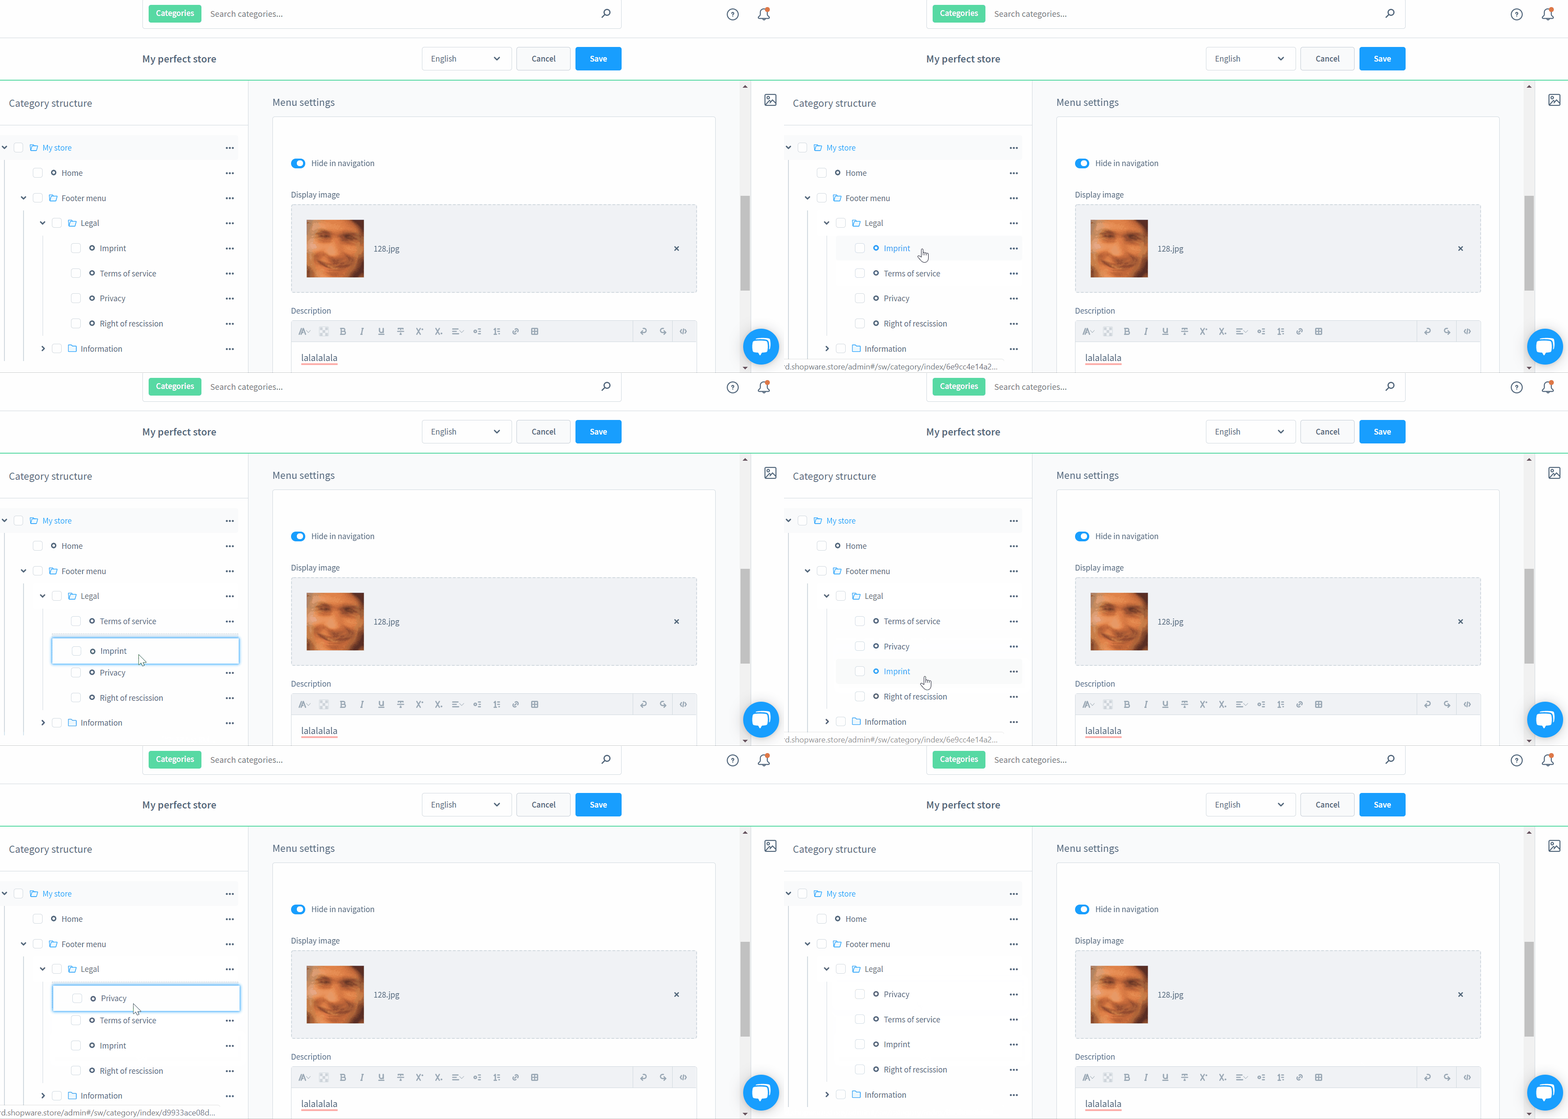
Shopware 6 empowers you with the drag & drop functionality to manage individual categories. You can add, edit, delete, and nest them using the options menu.
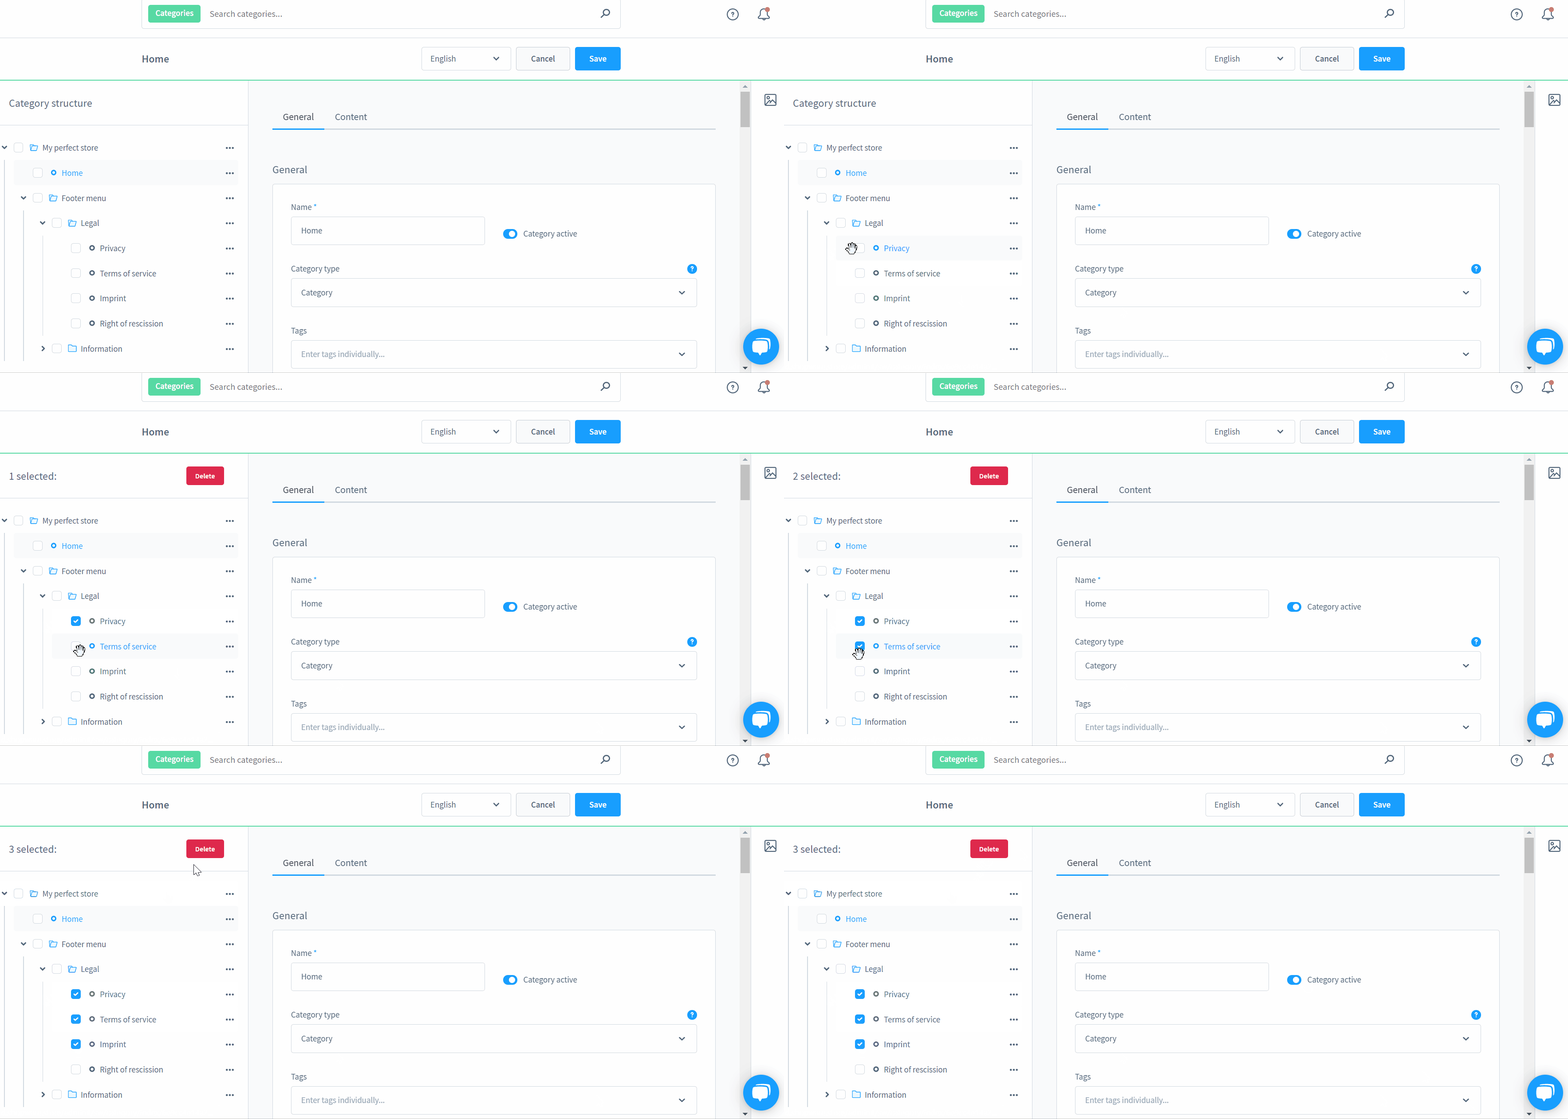
How to delete Shopware 6 categories in bulk
To delete Shopware 6 categories in bulk, select records you want to remove and hit the Delete button:
How to add new categories in Shopware 6
To add a new category in Shopware 6, use the options menu. Choose an existing category and hit three dots in front of it. You will get the following options displayed:
- New category before – adds a new category before the selected one;
- New category after – adds a new category after the selected one;
- New subcategory – adds a new subcategory for the selected category;
- Edit – opens a screen where you can edit the selected category;
- Delete – deletes the selected category.
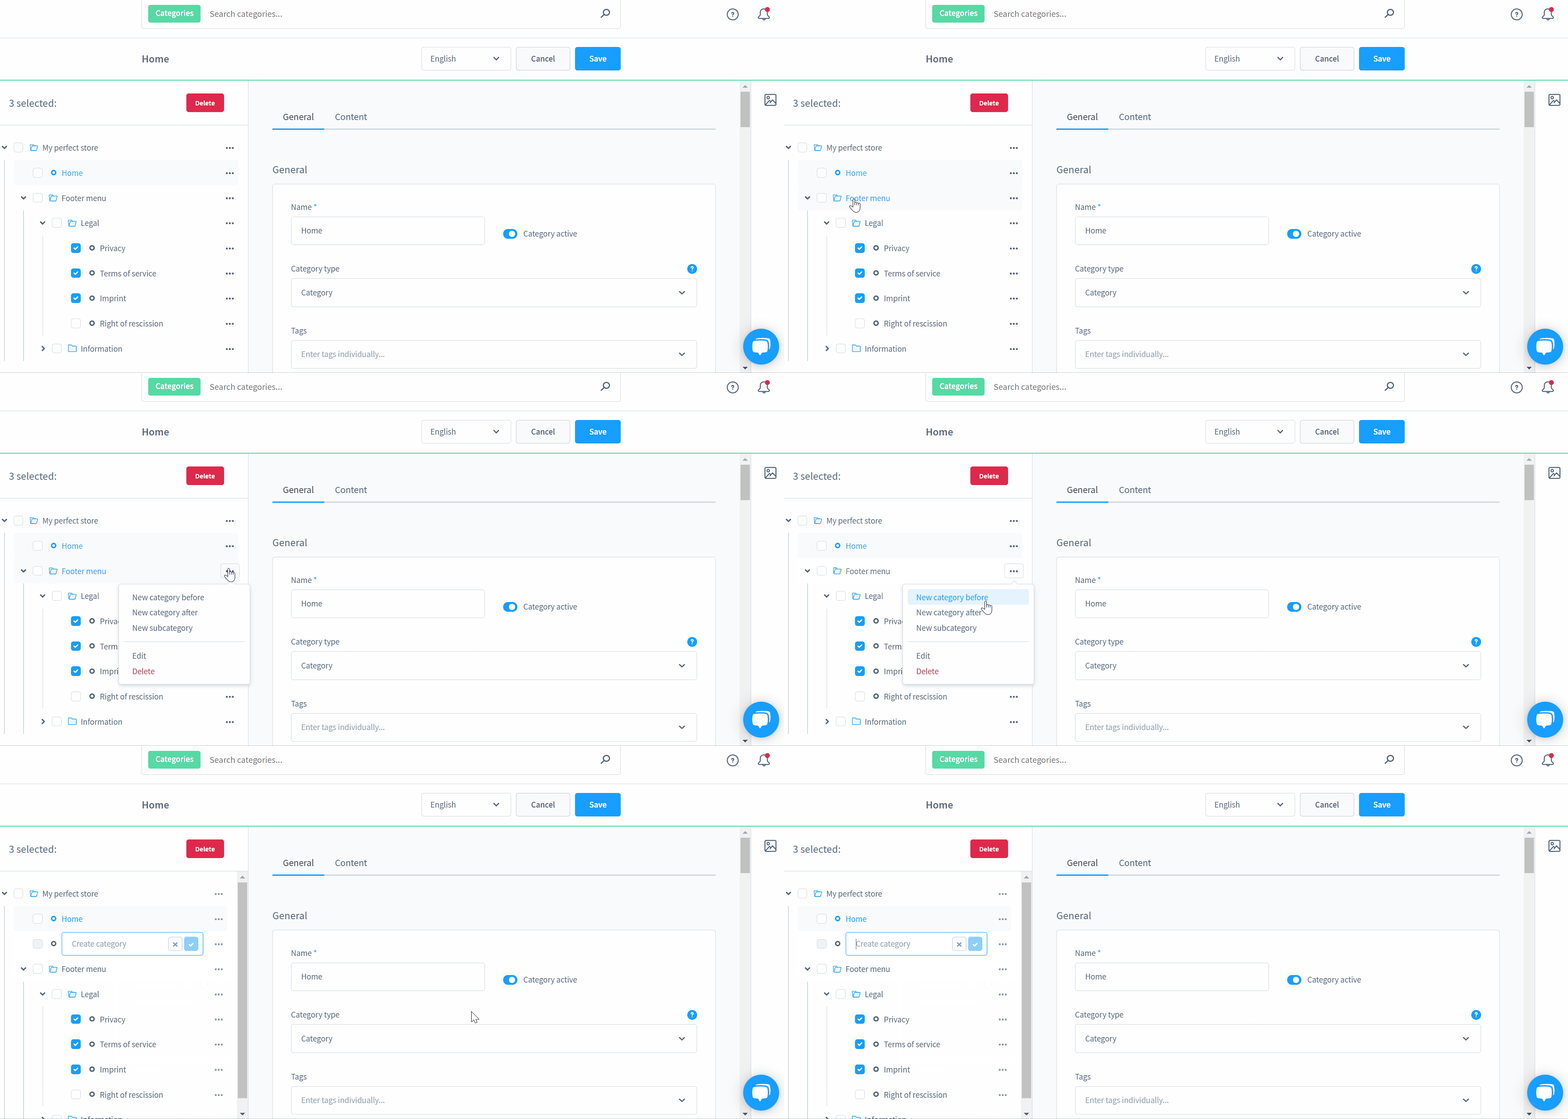
Let’s choose New category before and see what happens. The system creates a new record and asks you to name it. Specify a category title and save it.
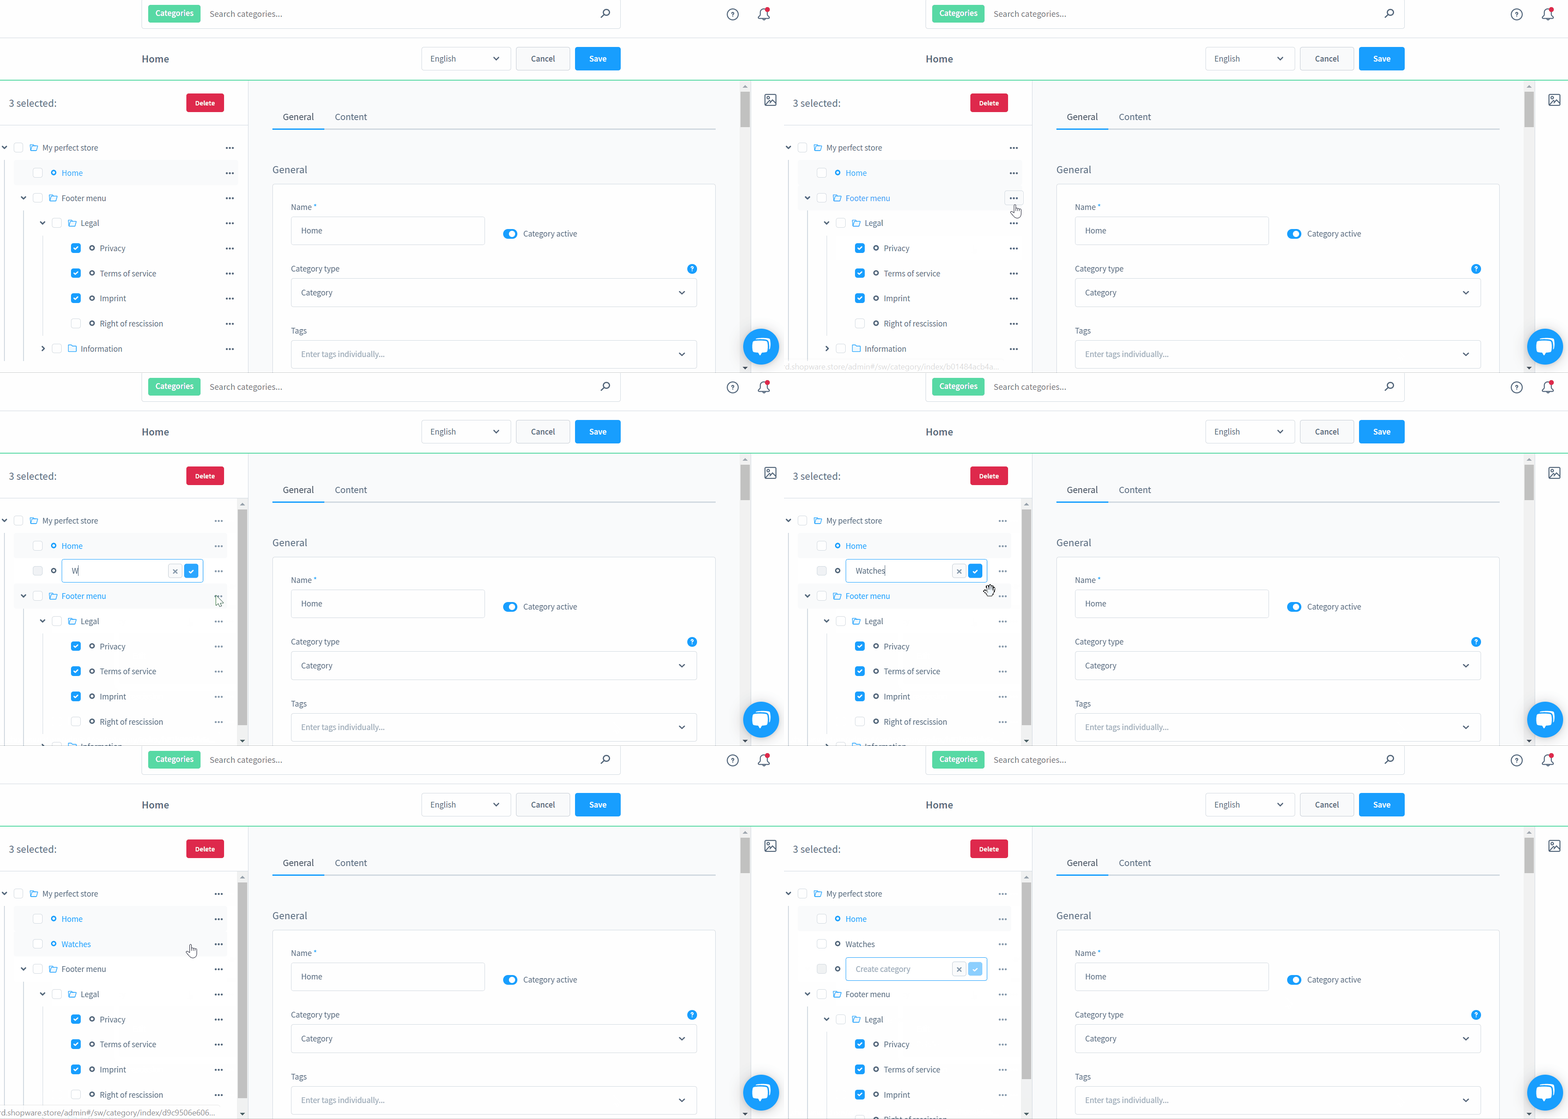
Now, you can continue creating your new Shopware 6 category. Specify information about it via the following tabs:
- General;
- Layout assignment;
- Menu settings;
- Product assignment;
- SEO;
- SEO URLs;
- Custom fields.
General
We’ve already described this section. It lets you edit the category name, switch between category types, enable/disable categories, and choose tags.
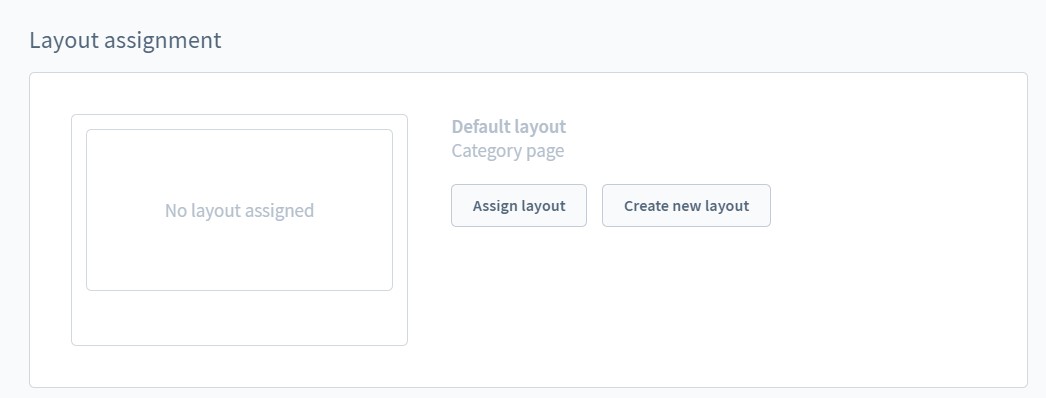
Layout assignment
Here, you can assign an existing category page layout or create a new one.
The Manu settings tab lets you hide your new category page from navigation, upload a category image, and add a description.
Product assignment
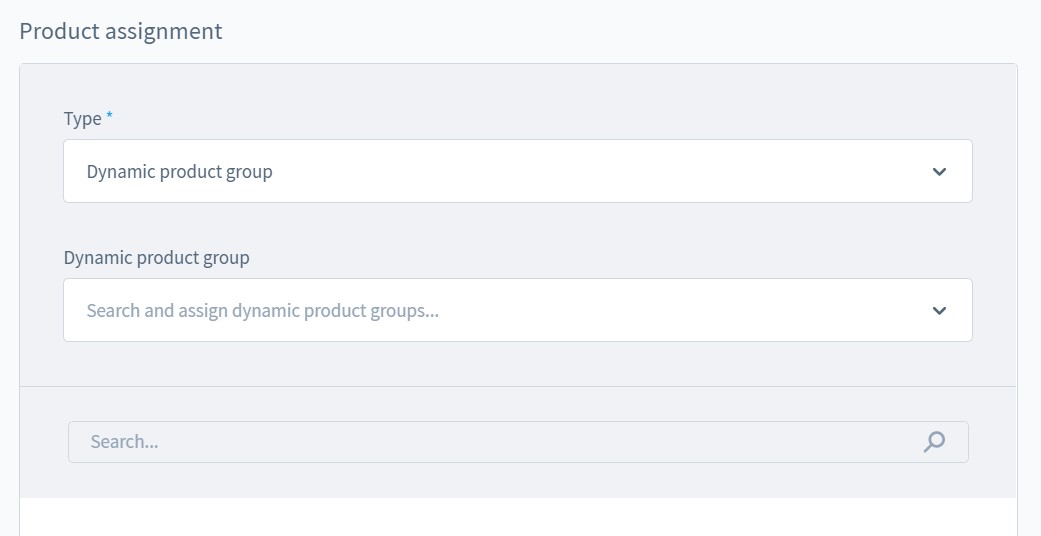
After that, you can assign products to your new Shopware 6 category. The system lets you do that manually by choosing specific items. Alternatively, you can enable dynamic product groups to automate this process.
SEO
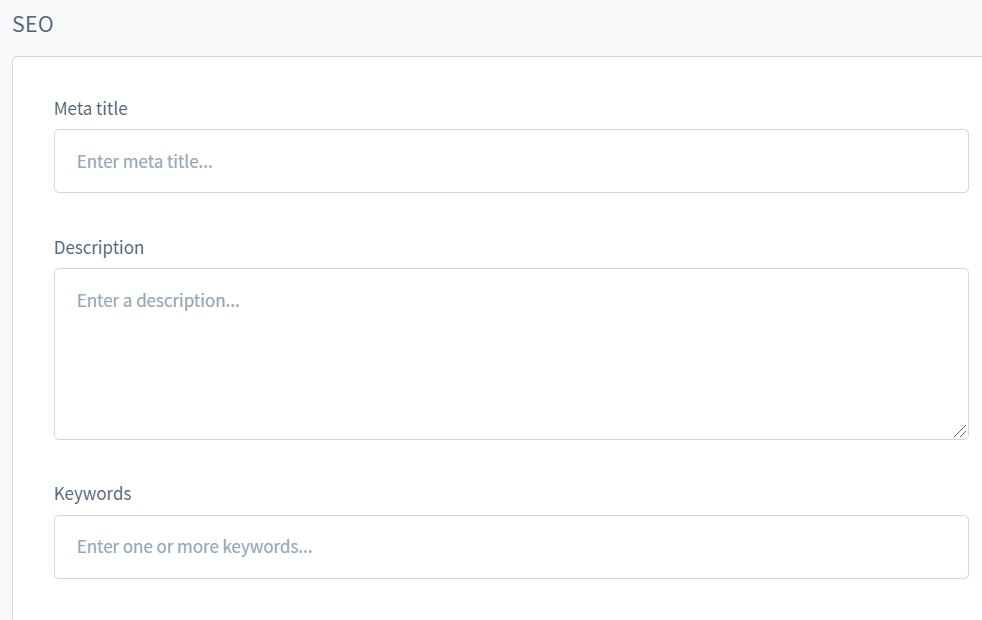
The SEO section lets you specify meta title, description, and keywords. There is nothing special here.
SEO URLs
It is also possible to create SEO-friendly URLs for your category page.

Custom fields
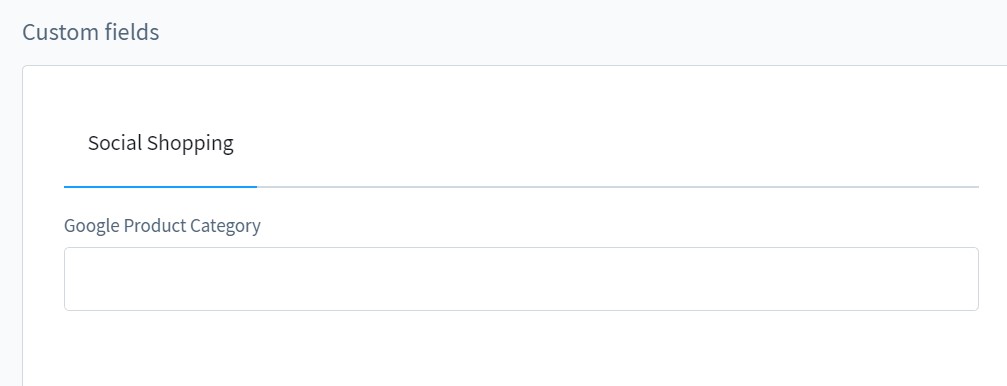
In this section, you can configure Social Shopping by specifying Google product categories.
Customizable link
If you create a customizable link in Shipware 6 instead of a category, the system provides the following three sections:
- General,
- Customizable link,
- Custom fields.
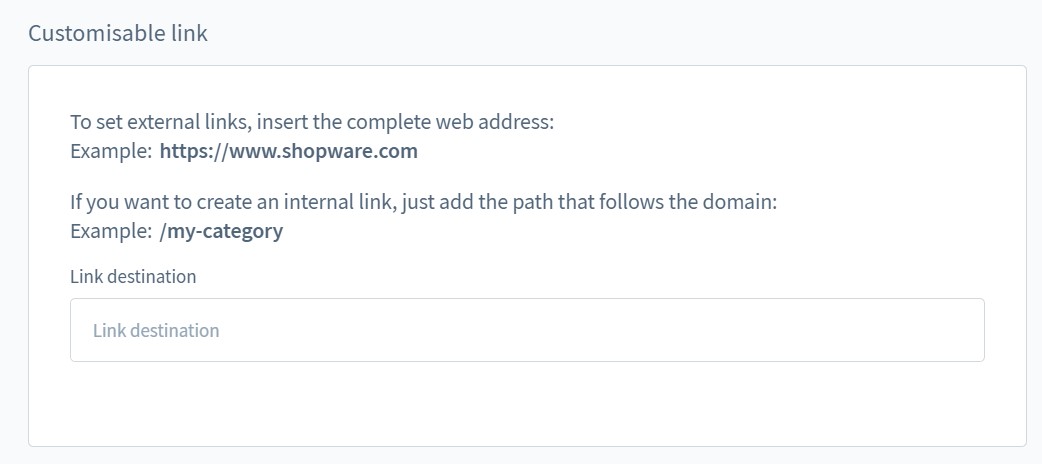
As you can see, the Customizable link is the only unique section. You can set an external link by inserting the complete web address, such as https://www.shopware.com. For internal links, add the path that follows the domain: /my-category.
How to Import Categories to Shopware 6
Our team lets you avoid the complex category creation routine of Shopware 6 if you already have an existing store with a catalog. We can help you import your existing category tree to Shopware 6. Contact our support for more details. You can also try our Improved Import & Export Extension for Shopware to import categories to Shopware 6. Please, consult our specialists before using the module. We will help you achieve the highest efficiency in this process.


