

This article continues our Shopware exploration. This time, we’ve come a little bit closer to the platform’s admin and storefront functionalities. In the following material, you will learn what a Shopware account is and how to create it. Note that it is a place that exists apart from the admin section. In a nutshell, it is a central hub where all services related to the Shopware operation take place. For instance, you can view your current license, get information about support, or list and maintain extensions used on your e-commerce storefront there. Besides, we define the Shopware ID and master data. Other topics discussed below include Shopware payment methods, making purchases in Shopware, and topping up your Shopware account.

Table of contents
How to create a Shopware ID
Let’s look at how to create a Shopware ID. Before going any further, we’d like to define what it is. Shopware ID is a central login ID for numerous points across the Shopware ecosystem. For instance, it is utilized to log in to a Shopware account. At the same time, you cannot buy anything without your Shopware ID in the Shopware store. Posting and reading content on the Shopware forum also requires this credential. Besides, there are various Shopware portals where you can use your Shopware ID to confirm your identity.
Along with your Shopware ID, the system enables you to streamline the user administration for similar purposes. Follow these steps if you still don’t do that:
- Log in with your Shopware ID;
- Switch to a personal user account.
Now, you can use a more modern way to inform the system about who you are.
To get a Shopware ID, you need to create a Shopware account. We describe this procedure in the following chapter.
How to create a Shopware account
Creating a Shopware account is a user-friendly process that involves some data entry routine. It doesn’t differ much from other similar procedures. Follow these steps to register a Shopware account:
- Visit this page: Shopware Account Registration.
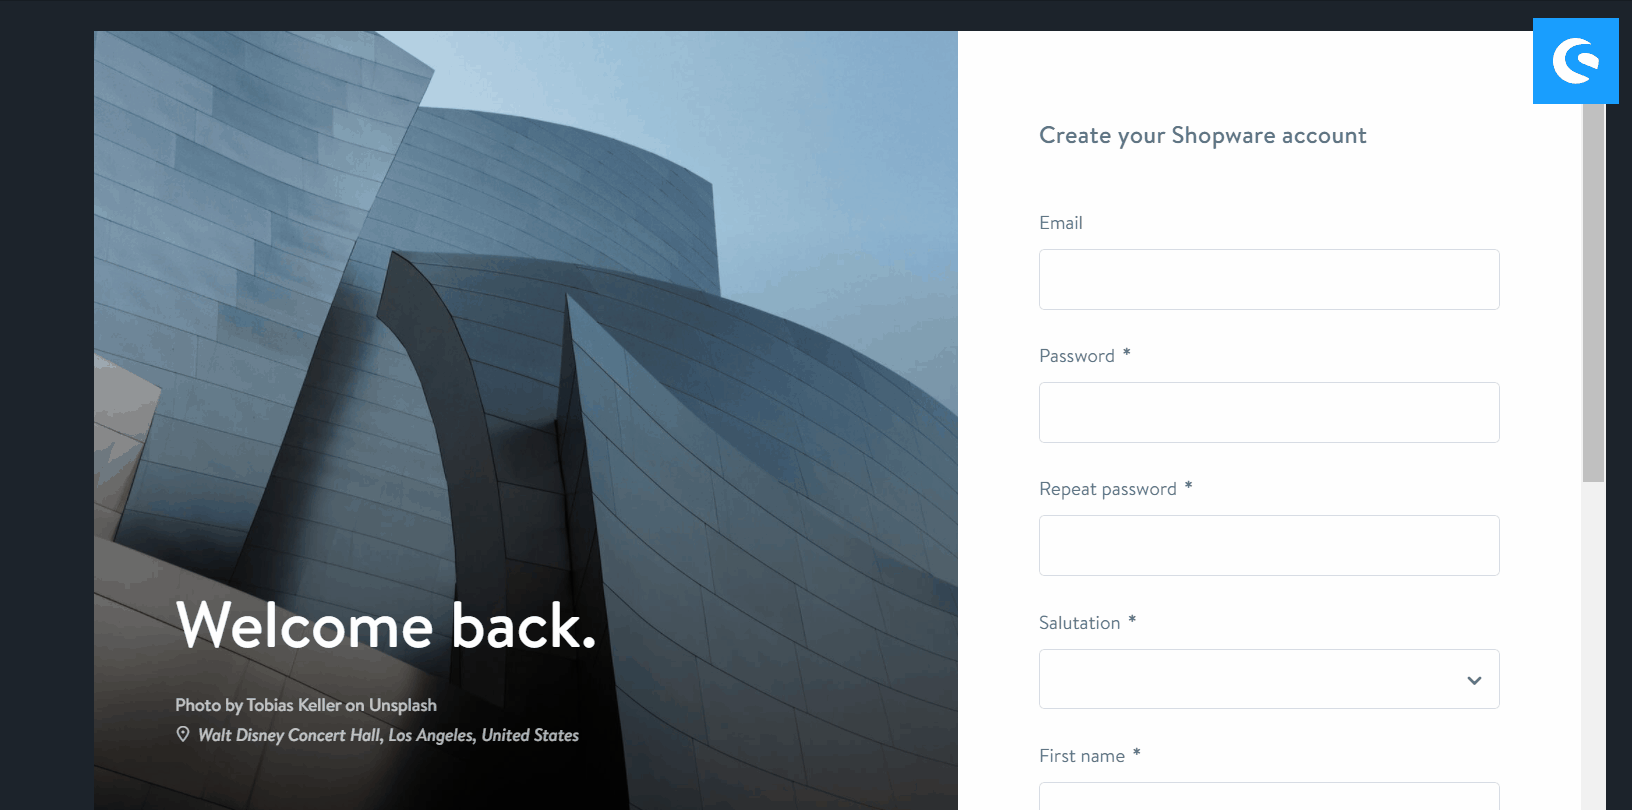
- Click on the “Register now” link.
- Fill in the required fields that display on the right-hand side of the page:
- Specify your email address;
- Create a strong password;
- Type an account title;
- Add your first and last name;
- Choose a preferable language.
- Click on “Register” – this action transfers the provided information to the system, creating your Shopware account.

- You will get an email with the registration confirmation. Follow the link provided there.


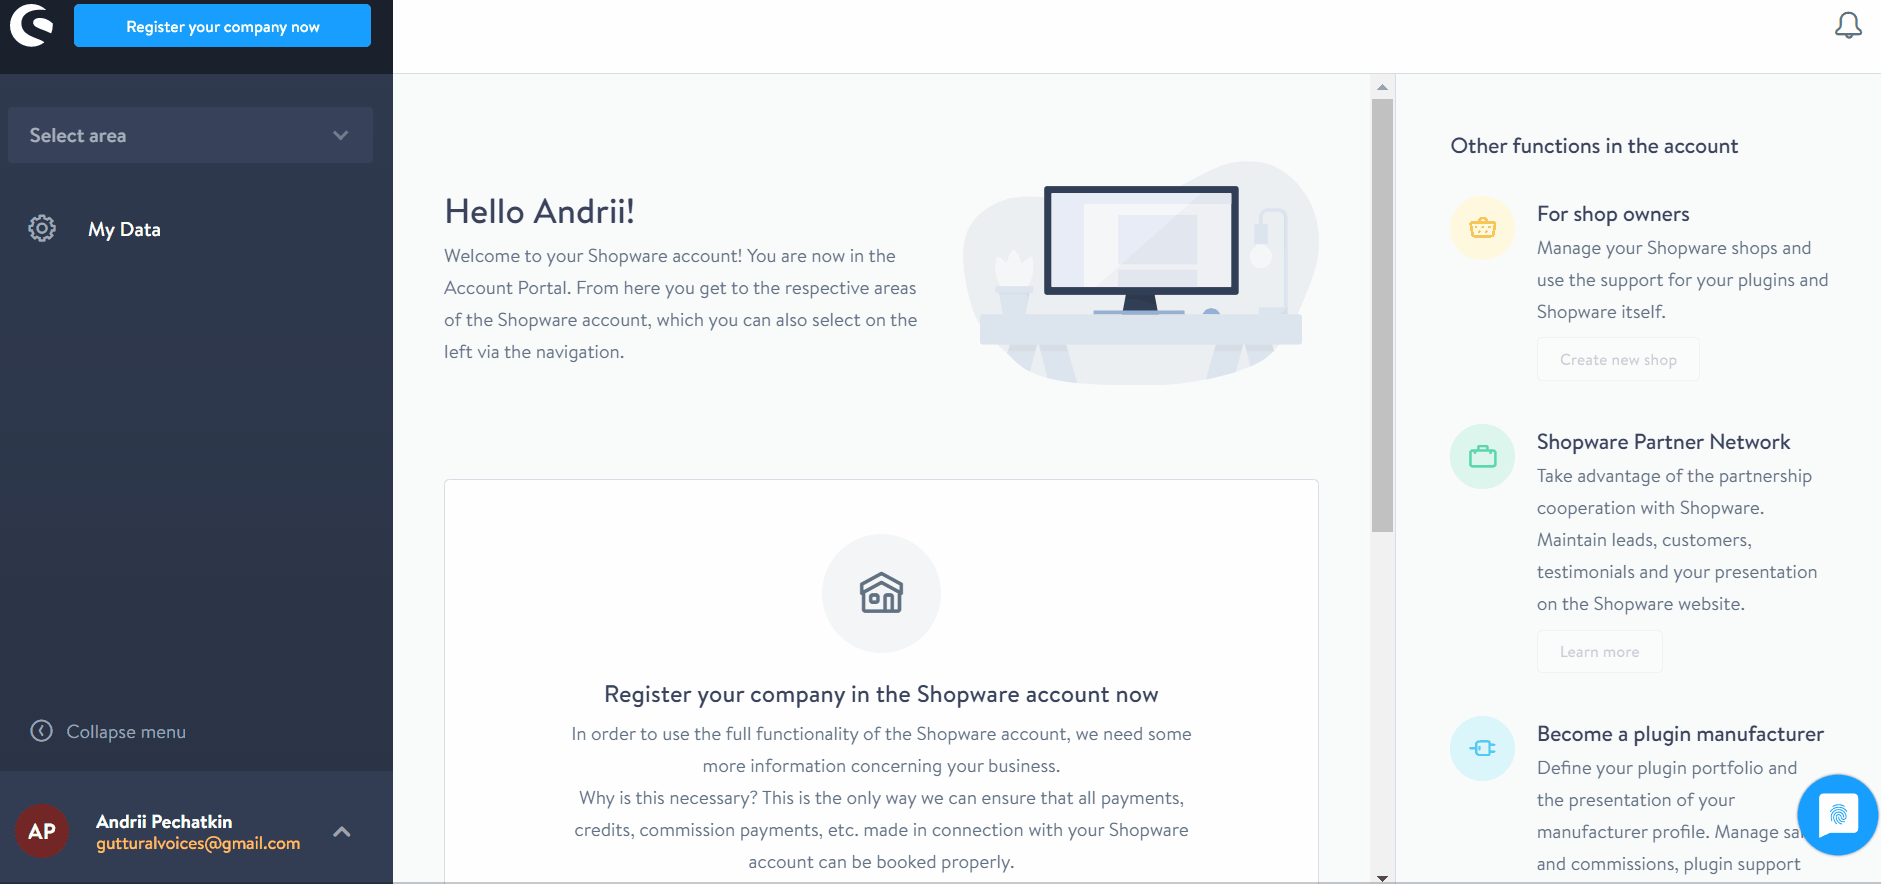
Now, you can log in to Shopware with the provided credentials. Proceed to https://account.shopware.com/ to open your new Shopware account.
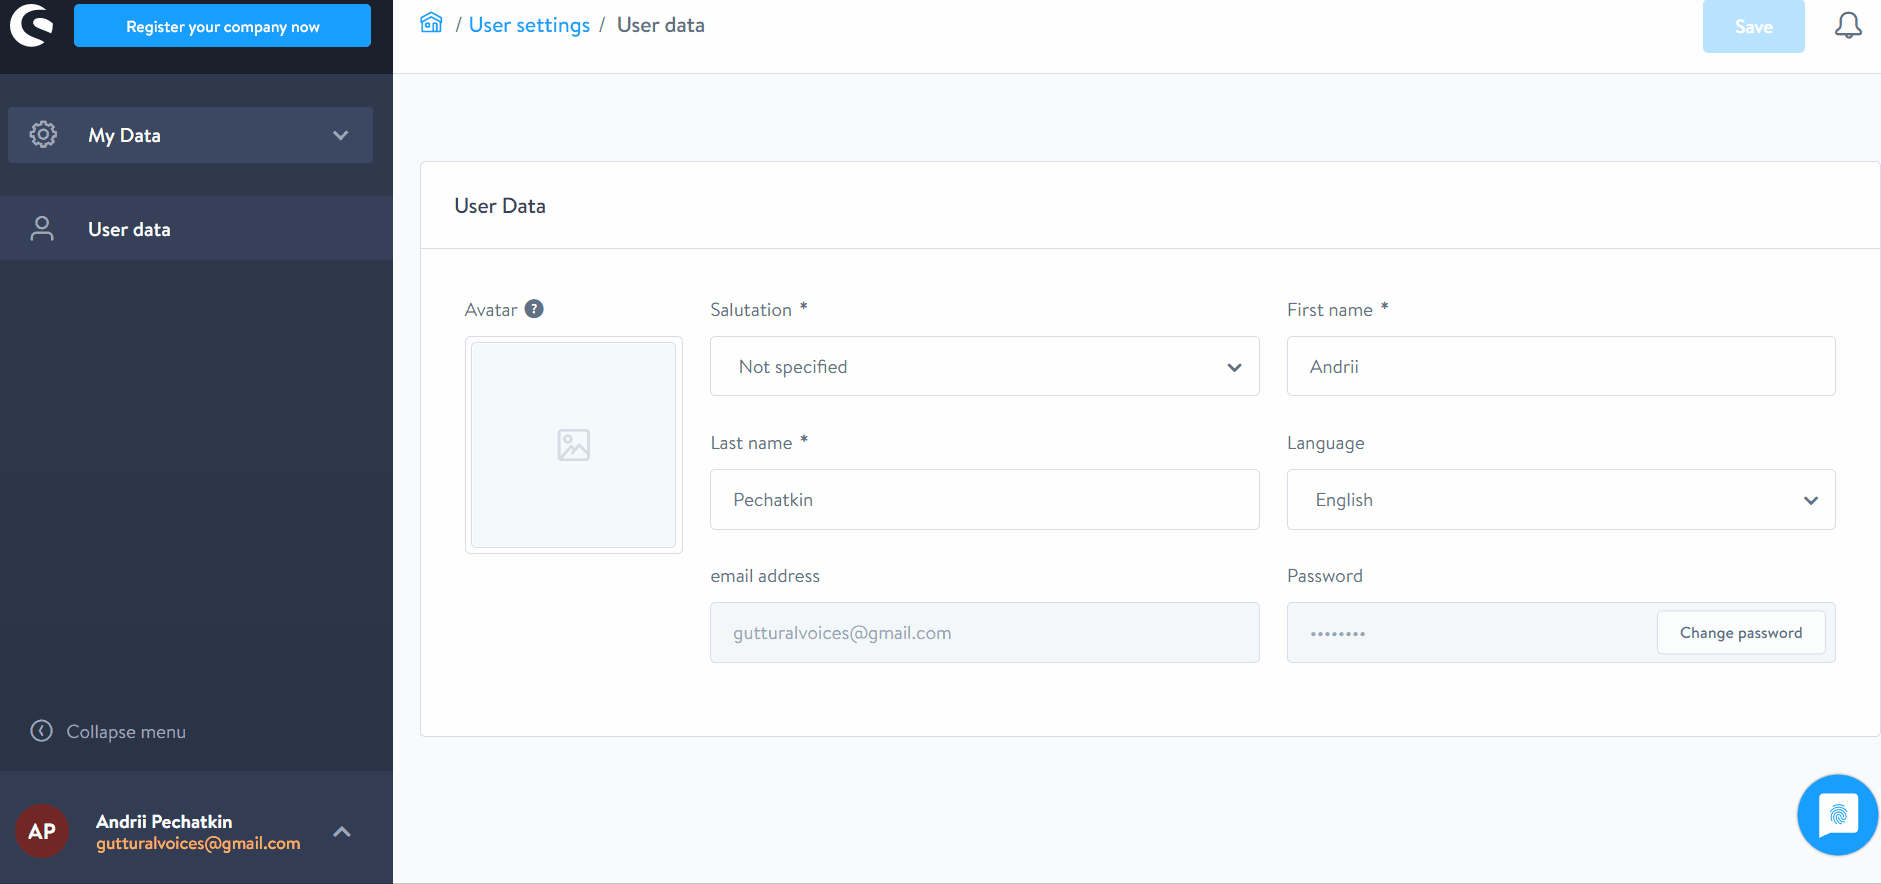
The first login attempt is associated with further data entry. You need to provide additional information about yourself. After that, the basic setup is complete.
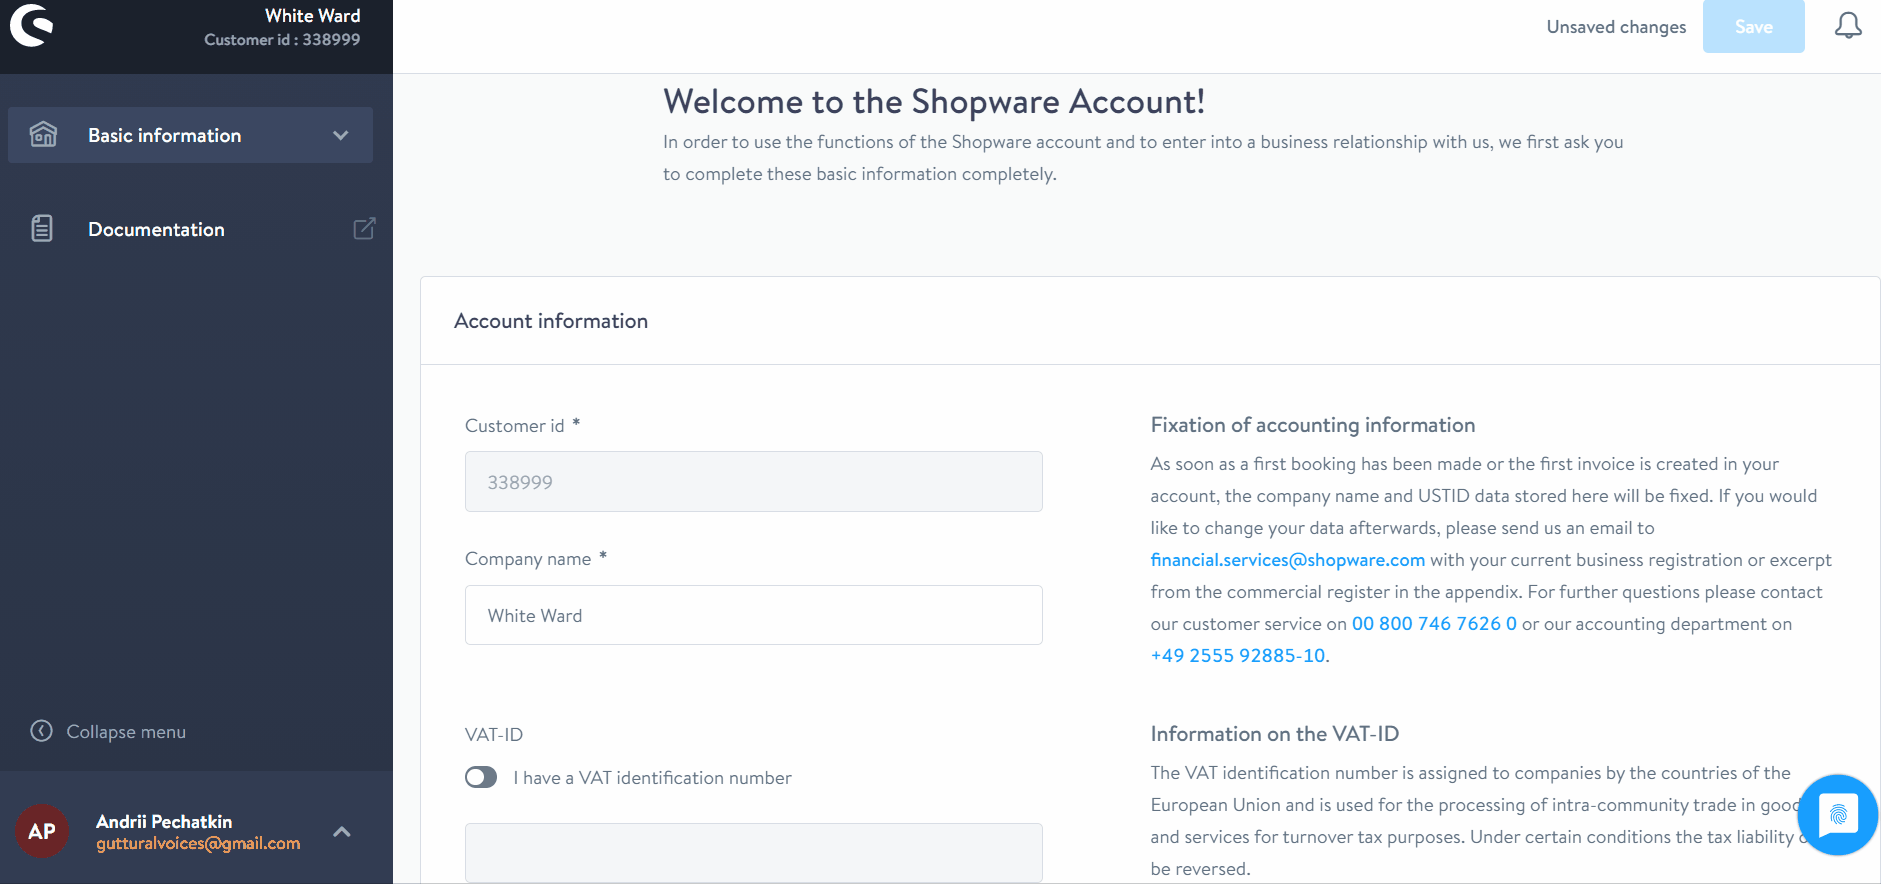
Shopware Master Data
Let’s proceed to the next stage. As we’ve just mentioned above, it is necessary to complete the registration, providing master data. Please provide only complete and correct information. Shopware requires the following data:
- Address;
- Email;
- Telephone number;
- Company name, etc.
Also, you need to register your company. Firstly, it is necessary to provide your company name and agree to terms and conditions.
Secondly, type the account information, contact data, and billing address.
Note that Shopware requires a correct company name from your business registration documents. Using a trading name in business transactions requires additional indication. The official guide refers to the following example: «instead of “Max Mustermann” then “XYZ-Products, Inh. Max Mustermann”».
It is also vital not to mix client and agency data. Usually, agencies tend to make such mistakes. However, information from different sources should be held separately.
If you run a company in the EU outside Germany, it is necessary to follow specific requirements. Otherwise, you will have to do some additional work to run your Shopware website properly. The system requires a correct VAT ID. If you provide it, Shopware lets you issue net invoices instead of gross invoices.
What if the provided master data has any inconsistencies? The only way to remove the issue is to contact Customer Care or Financial Services and ask for further resolution.
Also, note that a customer number is an output on documents using the following combination: XXXXXX+XX. The first six characters are the customer ID, while the last two digits display the following information:
- 00 – for a manually created invoice;
- 01, 02,03… – for a reference to a specific domain.
How to add a shop in Shopware
Now, you have to create a shop in Shopware and link its domain to your Shopware account. It will help you use licensed plugins. The only way to install them takes place in your account. Since your e-commerce shop and account are linked, you control their installation on a website through your Shopware account.
To create a new shop in Shopware, follow these steps:
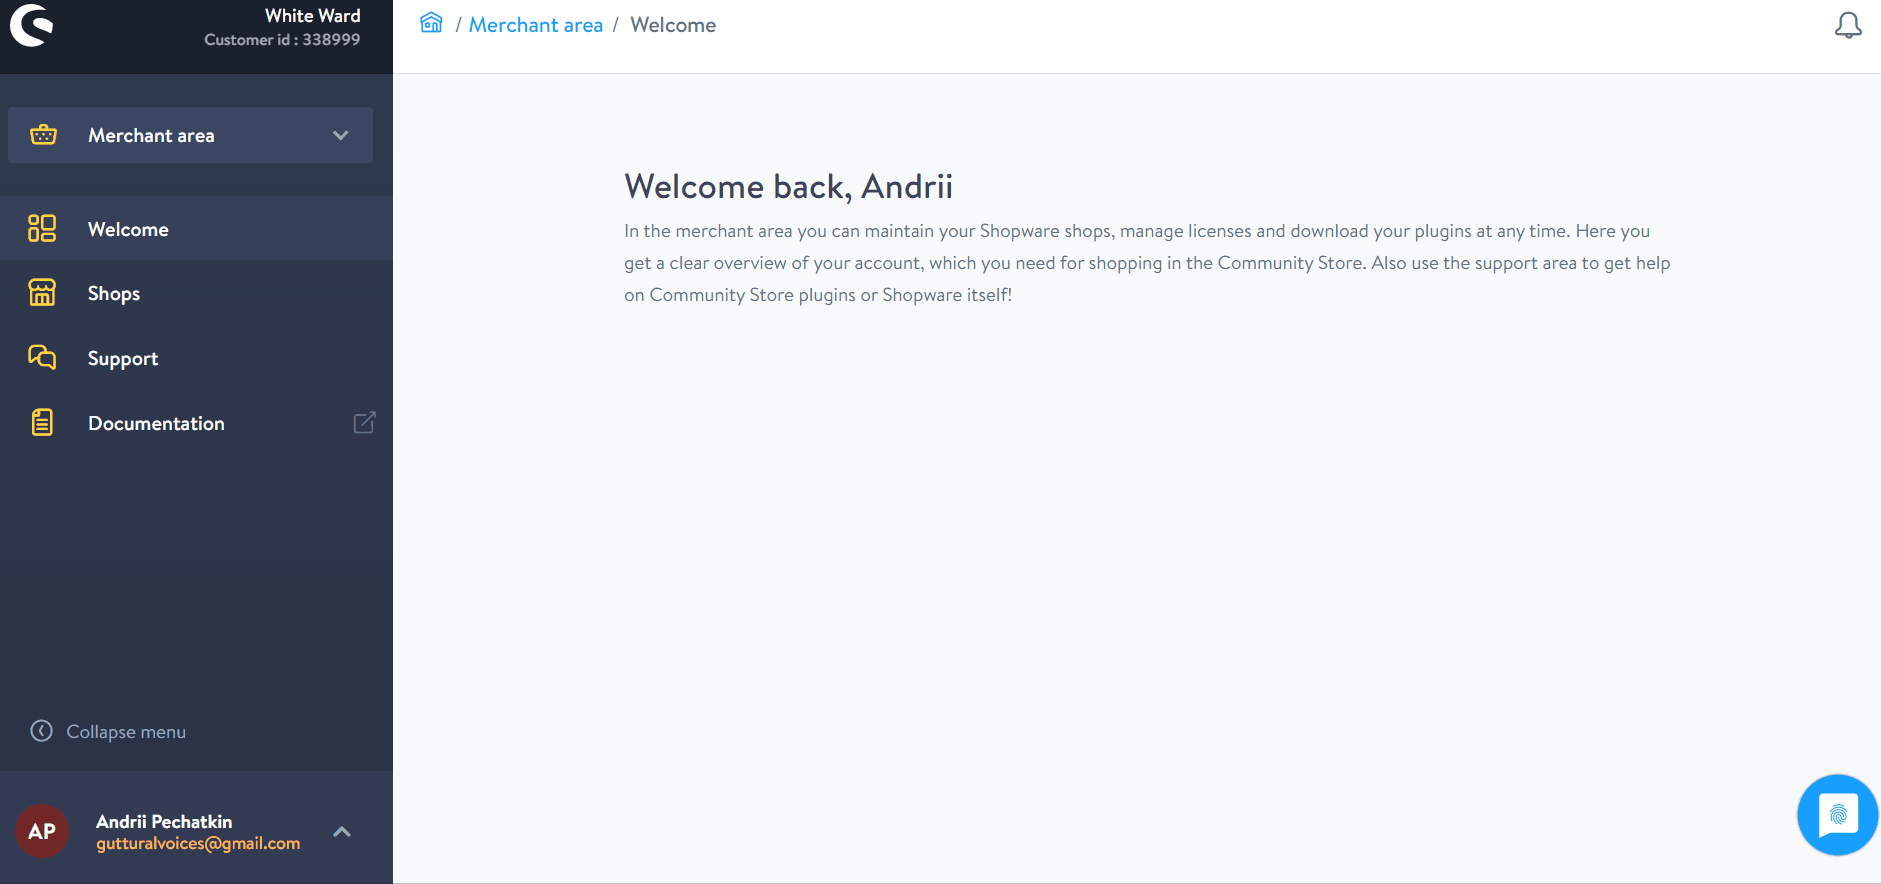
Proceed to the merchant area. Click the corresponding link in the right section of your start-screen.

You can either create a cloud storefront or register an existing on-premise Shopware website.

The registration window for an existing self-hosted shop looks as follows:

You need to specify your Shop domain, choose the Shopware version of your store, and indicate the purpose of use. It can be either a productive or test environment.
The following window displays information on the validation of the shop domain:

From that screen, you can move to the next step. Hit the corresponding button on the bottom right part of the screen.
Important Notice! It is highly recommended to save the sw-domain-hash.html file on your server since it is required in the next step. Provide it to the system to complete the Shopware domain verification.

As always, you have to read and confirm terms and conditions. Otherwise, you will never register your shop.
While creating a new cloud shop, Shopware requires specifying a shop name. You can check its availability and preview the domain.

Hit the creation button, and Shopware will display the Changelog Merchant area. Your new cloud shop has been created.

How to add a payment method to a Shopware account
You cannot purchase chargeable plugins without depositing a payment method or pre-loading the account with the necessary credit. In the chapter below, we shed light on how to do that by adding a payment method to your Shopware account. Do that as follows:
- Log in to your Shopware Account;
- Proceed to Basic Information/Accounting;
- Choose PayPal, credit card, or direct debit as your payment methods.
Consider the following restrictions:
- PayPal: Enter all the necessary information within the PayPal system. You will need to authorize “merchant debit with a debit agreement”. This procedure is similar to a direct debit authorization for your PayPal account. All further information is provided when you enter your payment data.
- Credit card: Payment by Mastercard and Visa are only possible. However, support for other credit cards should be added soon.
- Direct debit: Shopware supports only the SEPA BASIS direct debit from euro accounts.
After configuring all these methods, you get the ability to select one of them while purchasing extensions. Just choose one that suits your needs during the order completion in the store.
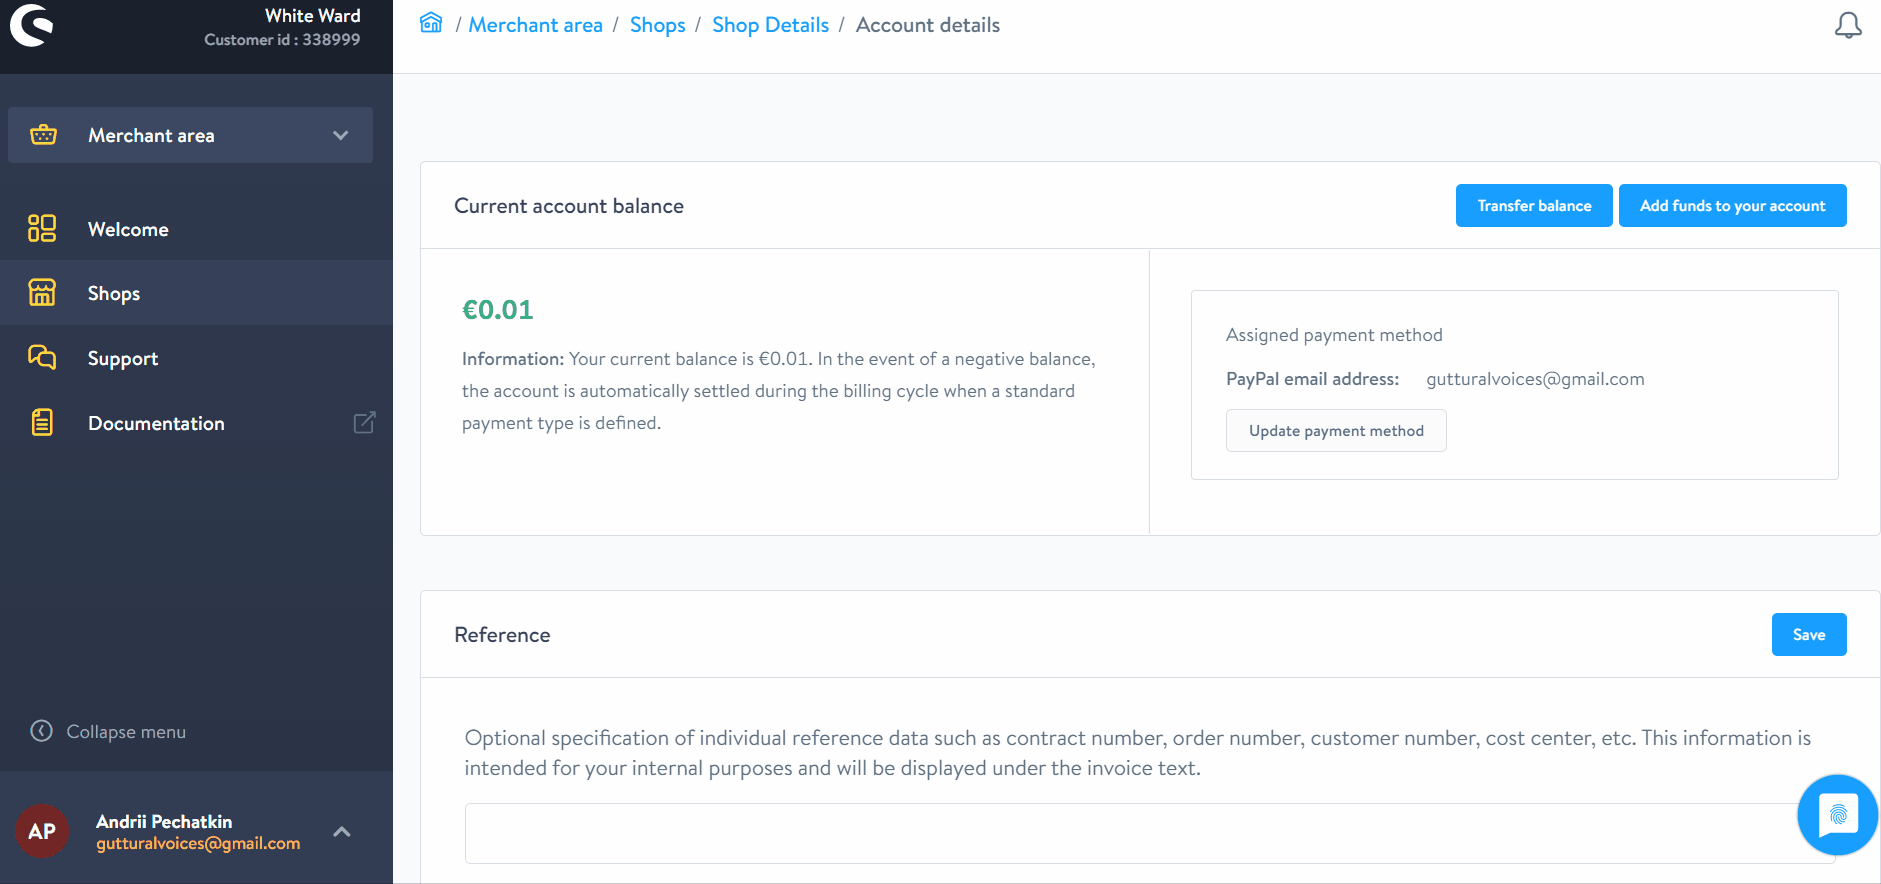
How to top up your Shopware account
If you want to pay in advance or need to balance an invoice, Shopware lets you pay any amount into your customer account. The minimum deposit is €5.00. You can make it per shop domain. You can add a deposit to your Shopwasre account as follows:
- Go to your Shopware account;
- Proceed to Merchant Area -> Shops;
- Open a shop to add funds to;
- Hit the Open Account Details button;
- Click Add funds to your account;
- Specify one of the payment methods added to the account;
- Type the amount you want to transfer to your shop.
Besides, Shopware offers an alternative way to add a deposit to your customer account. You can make a PayPal payment to the following PayPal account: “financial.services@shopware.com”. You need to specify your customer number and domain to indicate the account to which you transfer the money.
How to purchase Shopware extensions
There are two ways to purchase Shopware extensions. Firstly, you can do that in the Shopware store. Secondly, it is possible to purchase them in the Plugin Manager.
In-store purchases
You can buy chargeable extensions on the Shopware marketplace only after you deposit a payment method in your account, as discussed above. Next, you need to follow these steps:
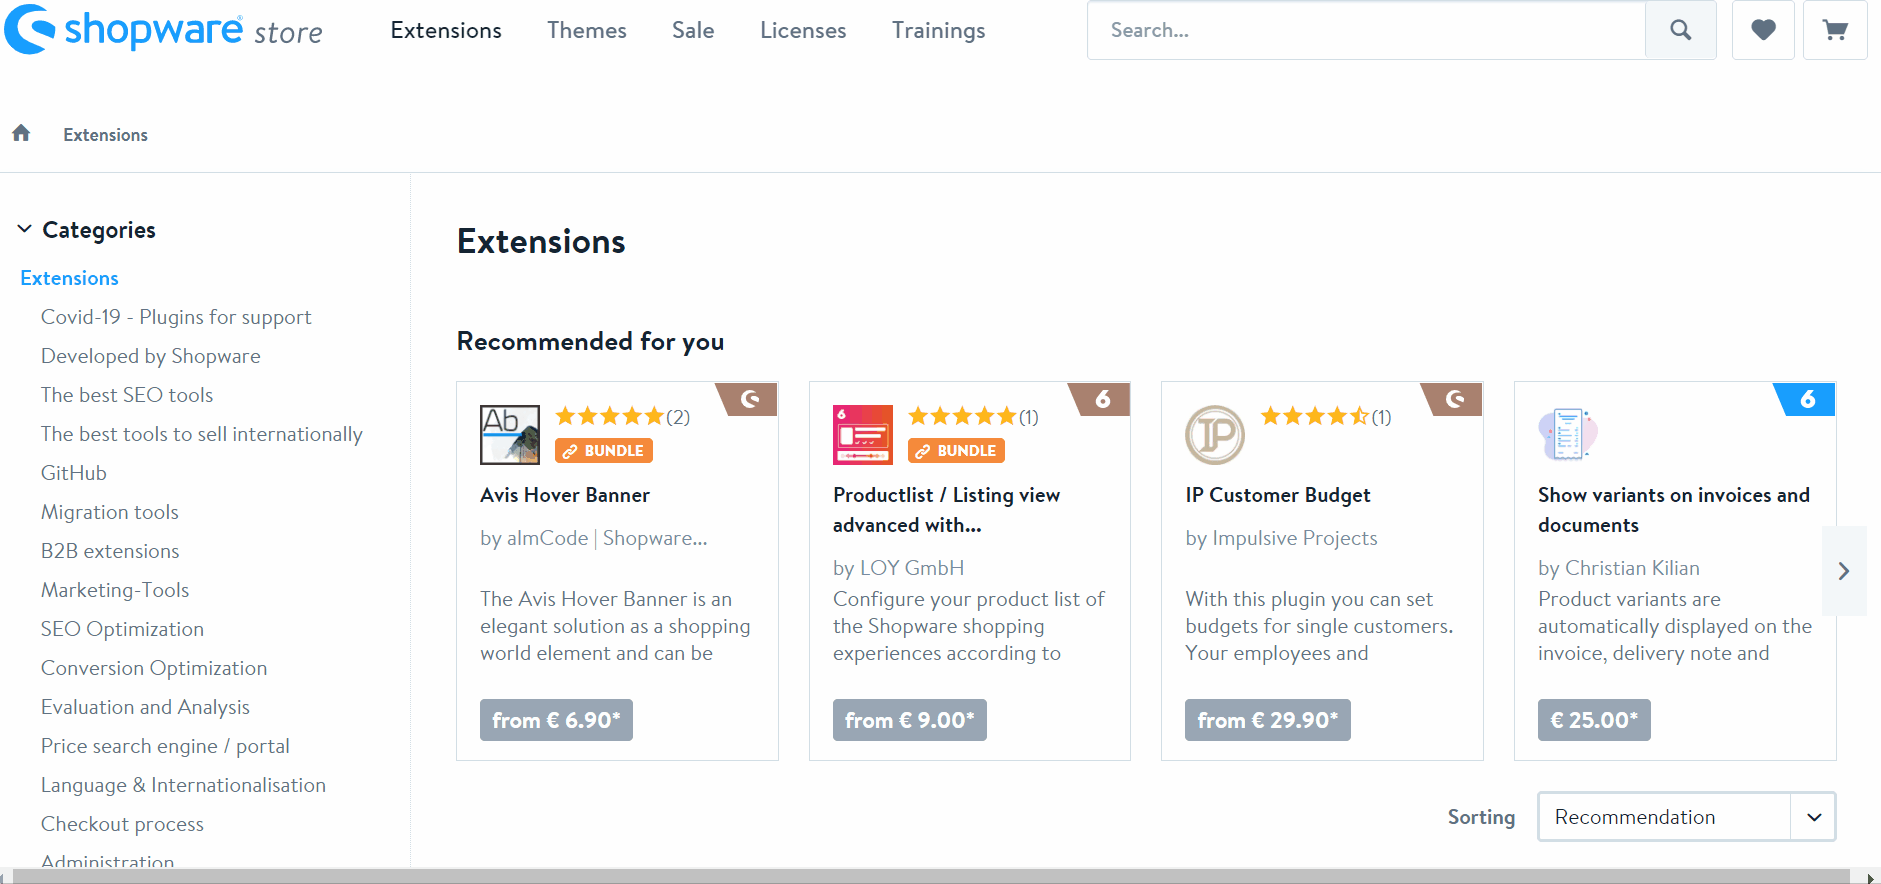
Proceed to the Shopware Community Store.
Use the navigation and search to find the extensions you are looking for. Use layered navigation on the left to filter out the selection of modules. Choose a Shopware version, extension category, rating, price range, etc. Note that the filters become more and more granular the more you configure them.
Click on the extension you want to purchase to proceed to its detail page.
The screen contains details about the extension. Besides, it lets you choose between a purchase, rental, or test version. Support information, manufacturer data, and other details are also listed here. Buying and downloading the extension is associated with a standard shopping cart experience:
Now, when you are on the checkout page, it is necessary to double-check the details. Be especially careful with your booking domain and the licensed domain. If they are not correct, problems with billing may occur. Also, the purchased extension may not run in the intended shop due to incorrect domain licensing.
Note that the Shopware booking domain indicates a particular domain in your account to refer to during the booking.
Plugin Manager
Alternatively, Shopware lets you purchase plugins using the Plugin Manager. The tool not only makes it easier to purchase/download plugins but also notifies about expiring licenses and supports license renewals. You can start buying plugins in the Plugin Manager with the help of the search or navigating through the categories.
Click on a module to see the detail page. You can not only view additional information about the tool you are going to purchase but also select the right licensing model.
Hit the Buy Now button to put the extension to the cart. Log in to your Shopware account to proceed to the checkout page. Select the booking domain and complete the purchase.
Note that purchasing Shopware extension through the Plugin Manager selects the licensed domain automatically. You just need to choose the proper booking domain. Thus, you enable the correct debit operation.
If the purchase is successful, the plugin is downloaded directly. Alternatively, you can get the license and install the plugin directly. The newly-purchase extension is available under the Installed section of the Plugin Manager.
How to get support with a Shopware account, license, and products
Multiple ways to get support when you face issues with your Shopware account and license are at your service. Firstly, you can contact a sales team at info@shopware.com. Another way is to reach them by phone: +49 2555 9288 50.
All inquiries about accounting and financial services can be sent to financial.services@shopware.com. You can also make a call: +49 2555 9288 510.
If you have technical questions about Shopware, the situation is a little bit more complicated. The shopware support is only available for Professional Edition (PE) users. If you’ve chosen another version, please look for help at the community forum or find a reliable service provider. For instance, the Firebear team can help you with data transfers and integrations. Contact us for more detail.


