

Suppose you need to show certain areas of your e-commerce website to particular customers. Shopware 6 lets you do that by default. Consequently, you can fine-tune your targeting efforts and achieve the highest possible conversion with a built-in extension. Below, we explain the Shopware 6 Dynamic Access extension and how to configure it. So, let’s see what exact functionality this module offers and how to configure Dynamic Access in Shopoware 6. You can find other useful materials about the platform here: Shopware 6 Cookbook.

Note that we provide Shopware integration with external platforms. Contact our support for further information or try our Improved Import, Export & Mass Actions.
Get Improved Import, Export & Mass Actions for Shopware by Firebear Studio
Explore Shopware
Table of contents
Shopware 6 Dynamic Access Defined
The Dynamic Access extension is available in Shopware starting from its version 6.4.6.0. As you’ve probably guessed already, the flexibility of Dynamic Access is based on rules. You should leverage it in cooperation with the Rule Builder to hide certain elements of your e-commerce website.
Let’s assume your online store is dedicated to cultural exchange offers products specific to the EU, Australia, and the US. Accordingly, when customers come from one of these three regions, you should provide specific categories and products.
For instance, we would like to provide customers from the EU with the items from the other two countries, but not the items associated with their region. The restrictions should also affect logged-in customers from the US and Australia.
Shopware 6 Dynamic Access lets you implement this strategy. Let’s see how it works.
How To Configure Dynamic Access in Shopware 6
Below, we explore two ways to configure Dynamic Access in Shopware 6. The first approach incorporates region-based configuration. The second one introduces other parameters of more precise content display.
Region-based configuration
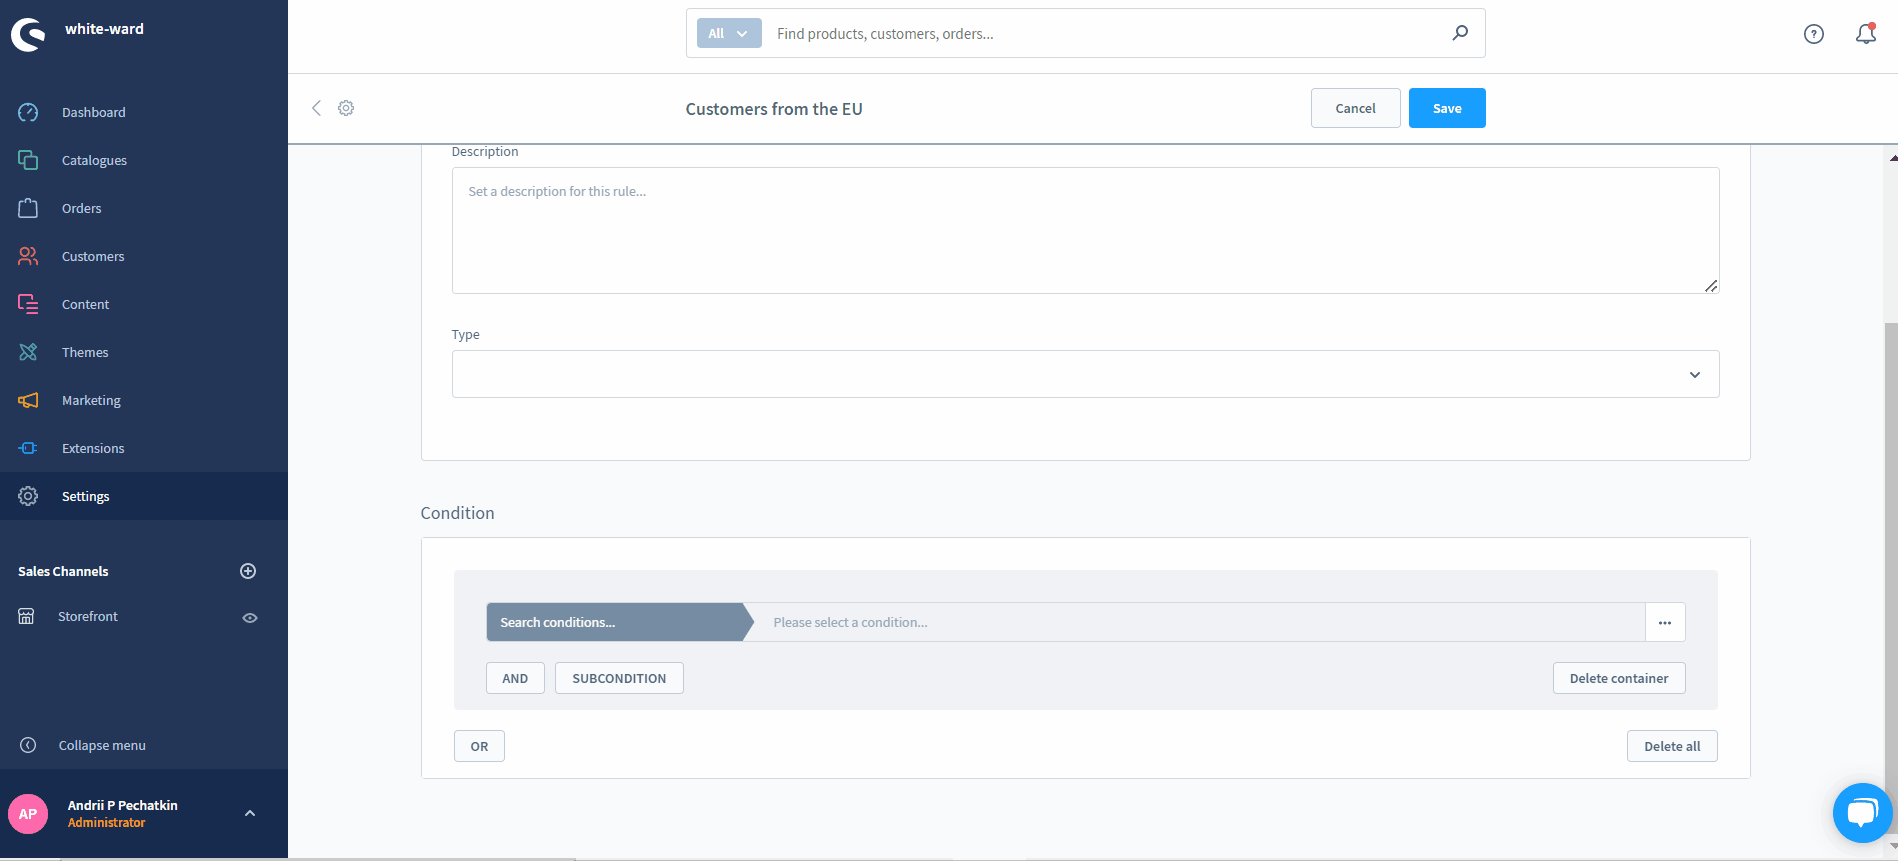
You start your routine associated with Dynamic Access in your Shopware 6 admin under Settings -> Rule Builder. Since we work with the three regions, you need to create the following three rules:
- Customers from the EU;
- Customers from Australia;
- Customers from the US.
Create a condition that identifies a customer according to the country of origin within each rule. It should look as follows:
Billing country > Is one of + the countries of the corresponding rule.
For the Customers from the EU rule, you need to add all the EU countries.
Create the same rules for the remaining two regions.
After that, you should proceed to Catalogues -> Categories and create the following three categories:
- Products from the EU
- Products from Australia
- Product from the US
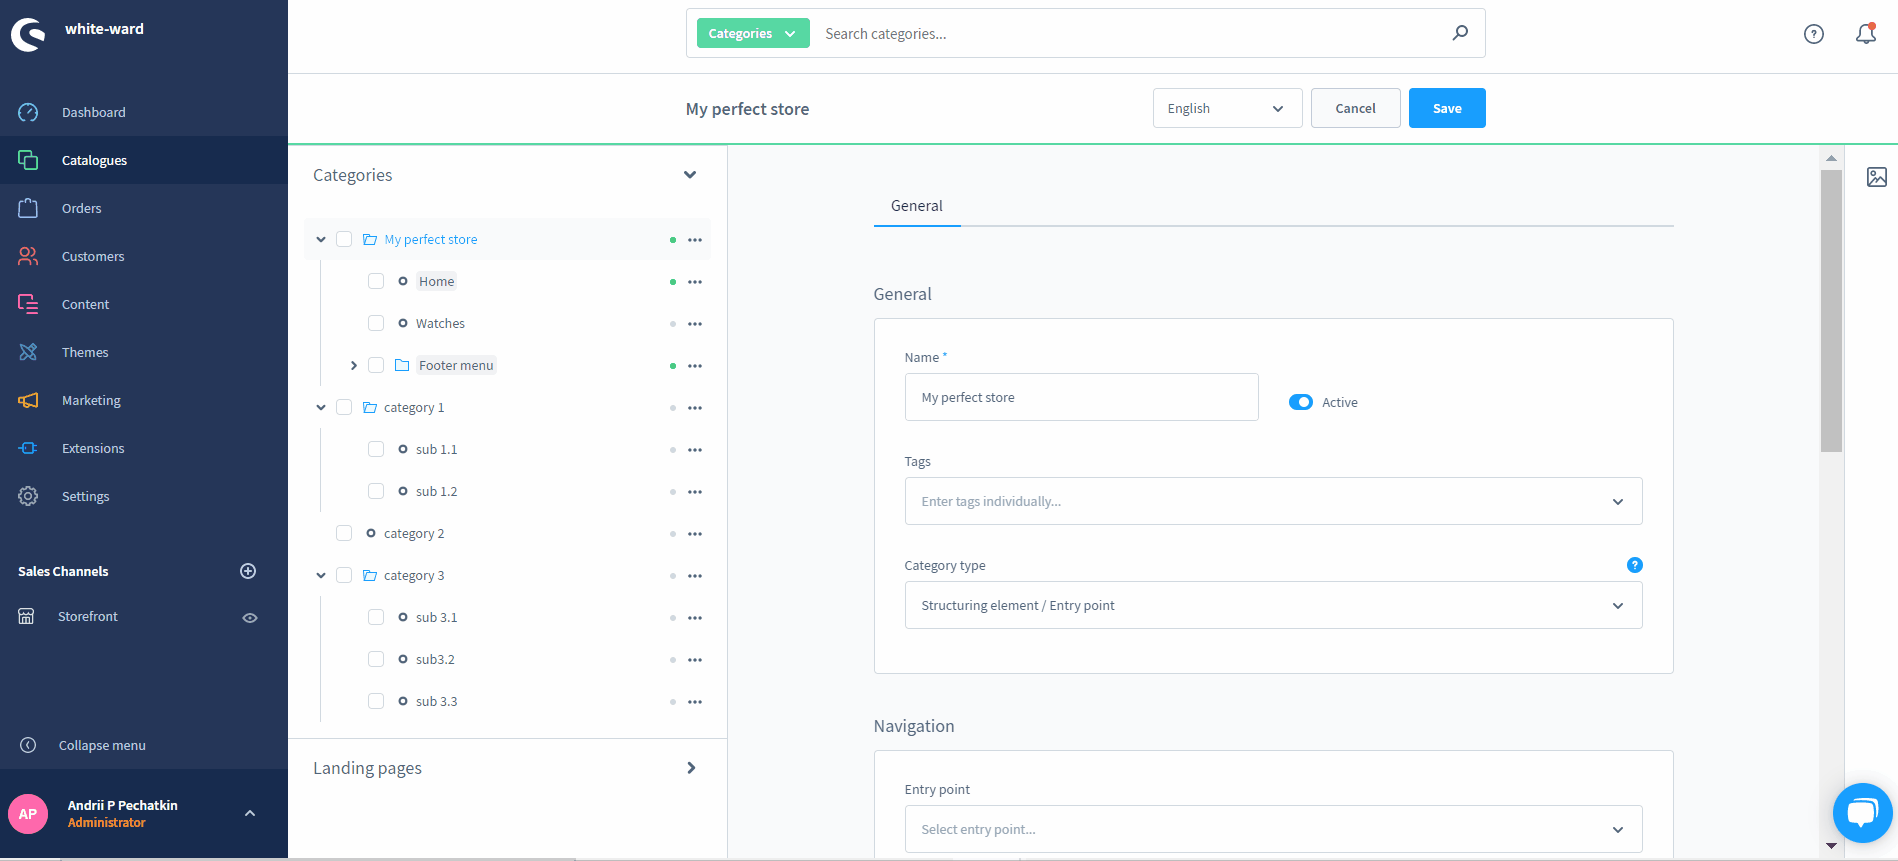
Next, you need to configure these new categories. Go to the General tab of each category, find the Dynamic Access section, and add the corresponding rules that you’ve previously created in the Rule Builder. You can determine which customers should have access to this category by selecting Customers from Australia and Customers from US rules here.

As a result of these manipulations, the categories are now displayed according to the billing address of the logged-in customer. As for customers who are not logged in, they don’t see the newly created categories.
It is also possible to restrict the display of the products associated with the new categories among search results. You need to assign the Dynamic Access rules to the corresponding items under Catalogues -> Products. Open the product you want to hide from search and select the corresponding rules under its General tab. The Dynamic Access configuration is available in the Visibility & Structure section.

So, these steps are enough for displaying products and categories based on the billing country.
Other Dynamic Access rules
In addition to the region-based configuration, you can also leverage other parameters to display categories and products. For instance, only customers who have already placed x orders or belong to a certain customer group can see the category/product.
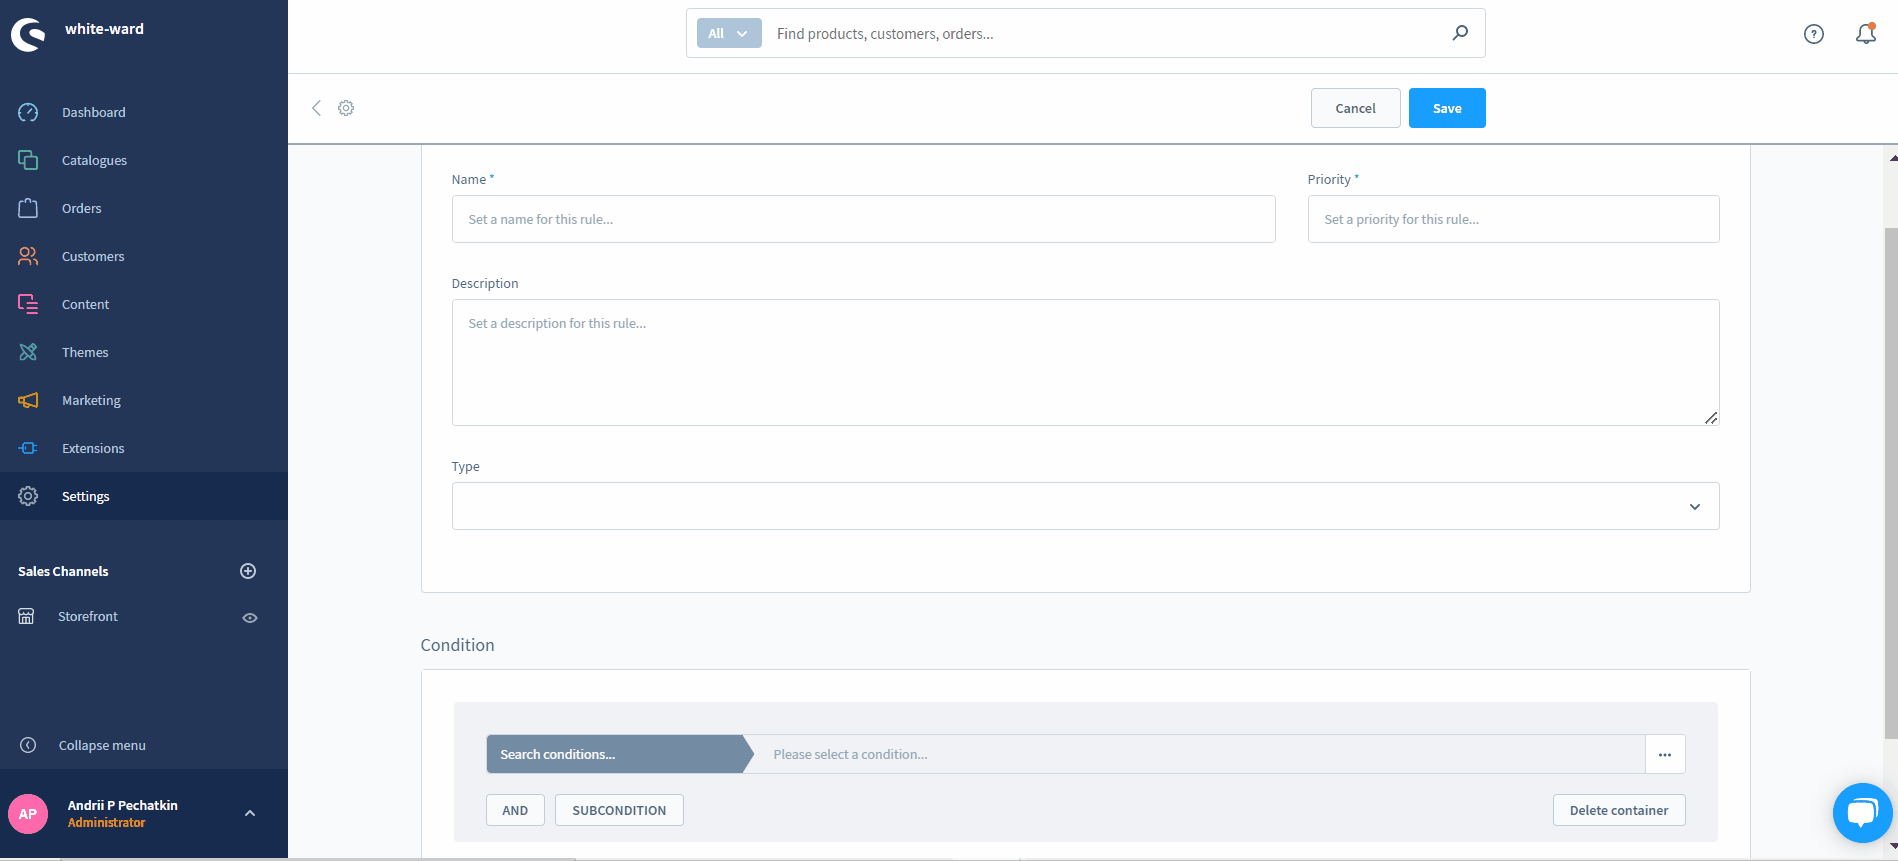
So, let’s return to the Rule Builder to create another rule. Let’s assume that the number of orders is the necessary criterium. The condition then looks as follows:
Count of orders > Is greater than/equal to > 100.
After that, it is necessary to assign the new rule to any category or product, as described above. Consequently, your frontend element will be displayed to customers who have already placed at least 100 orders.
As you can see, the Shopware 6 Dynamic Access extension provides the ability to show and hide a wide variety of content with the help of the Rule Builder. The more rules you create, the more precise your particular business scenarios become.
Shopware 6 Essentials FAQ
How to create a Shopware account?
You need to create a Shopware account before working with the Dynamic Access extension. Visit the registration page, hit the Register Now link, and fill in the form to create a new account. After receiving a confirmation email, follow the instructions provided in it.
What about a Shopware ID?
You will receive a Shopware ID upon registration automatically. Next, you will need to create a storefront to leverage the Dynamic Access functionality.
What is Shopware master data?
All the information about your company and business, including physical addresses, phone numbers, and emails, is master data. You provide master data during the registration and while configuring your e-commerce website. The same information about your customer is used in Shopware 6 Dynamic Access.
How to add a new Shopware shop?
You need to create a shop to use Dynamic Access in Shopware 6. It is possible to add it to your merchant area. Click the corresponding link, choose the type of your new shop (a cloud storefront or an on-premise installation), and provide all the requested information.
How to add a payment method to your Shopware account?
While the Dynamic Access module is free, the Shopware Marketplace offers numerous paid solutions. You need to add a payment method to purchase extensions and themes. You can add a payment method to purchase them under Basic Information -> Accounting. Select PayPal, credit card, or direct debit as a way to transfer funds to your account.
How to create a deposit in Shopware?
While the Dynamic Access extension is free, you need a deposit for purchasing other third-party extensions and themes. A working payment method is required. Go to your Merchant Area -> Shops, choose a shop to provide funds to, click Open Account Details, and transfer a deposit that covers the amount of your purchase.
How to purchase Shopware extensions?
It is possible to purchase extensions and themes in two ways: on the Shopware Marketplace or within the Plugin Manager. The Dynamic Access module is also available there. However, you can get it for free. As for commercial plugins, you need to create a deposit in advance that equals the amount of your future purchase. Next, select a tool you want to buy and complete the checkout.
How to get support in Shopware?
For support regarding accounting and financial issues, use these contact channels: financial.services@shopware.com and +49 2555 9288 510. You can get help regarding license inquiries here: info@shopware.com or call +49 2555 9288 50.
How to automate import and export processes in Shopware 6?
You can use the Improved Import, Export & Mass Actions module to automate recurring data transfers. The extension provides the ability to create schedules. Next, it automatically launches the corresponding import and export processes in the background.
How to migrate to Shopware 6?
The Improved Import, Export & Mass Actions tool is also suitable for the Shopware 6 migration. It can help you transfer data from your existing website based on another e-commerce platform or a previous Shopware version to Shopware 6. Note that we also offer export solutions for systems like Magento and Shopify so that you can simplify your data transfers between them and Shopware. Contact us for more information.
How to integrate Shopware 6 with external systems?
If you need to connect your Shopware 6 website to ERPs, CRMs, accounting tools, and other similar platforms, you can also use the Improved Import, Export & Mass Actions plugin. As we’ve just mentioned above, the module can help you automate repetitive import and export processes using schedules. It also introduces mapping presets for modifying data according to the requirements of your Shopware store during import and the rules of the connected platform during export.
Get Improved Import & Export for Shopware by Firebear Studio
Explore Shopware


