
In the following material, we proceed to a Shopware 6 Cloud environment-specific topic. When you visit the System section of your Shopware 6 Settings. You may come across the Domains screen. While users of self-hosted shops never see this page, cloud merchants can apply several useful configurations here. So, let’s see what Shopware 6 Domains are and how to manage them.
 ‘
‘
Note that we provide Shopware integration with external platforms. Contact our support for further information or try our Improved Import & Export Extension for Shopware. We can even import your products to Shopware 6.
Table of contents
Shopware 6 Domains Explained
While creating a Shopware 6 SaaS environment, you face the automated creation of a corresponding URL that combines the specified storefront name and a fixed part the system assigns to it.
However, it is possible to make your Shopware 6 website accessible through any custom domain. You can add the domain in your Shopware 6 settings under the System section on the Domain page.
Note that the maximum number of domains follows your booked plan. Below, we will explain the key points to consider when working with Shopware 6 domains.
Shopware 6 Domains Overview
The Shopware 6 Domains page looks as follows:

As you can see, it doesn’t contain many elements. First of all, you get an overview of the existing domains. In our case, it is “white-ward.shopware.store”.
Besides, it is possible to add your custom domains.
How to add a domain in Shopware 6
To add a new domain in Shopware 6, follow these steps:
- Go to the Domains section under Main Menu -> Settings -> System.
- Click on the Connect domain button.
- Add your domain.
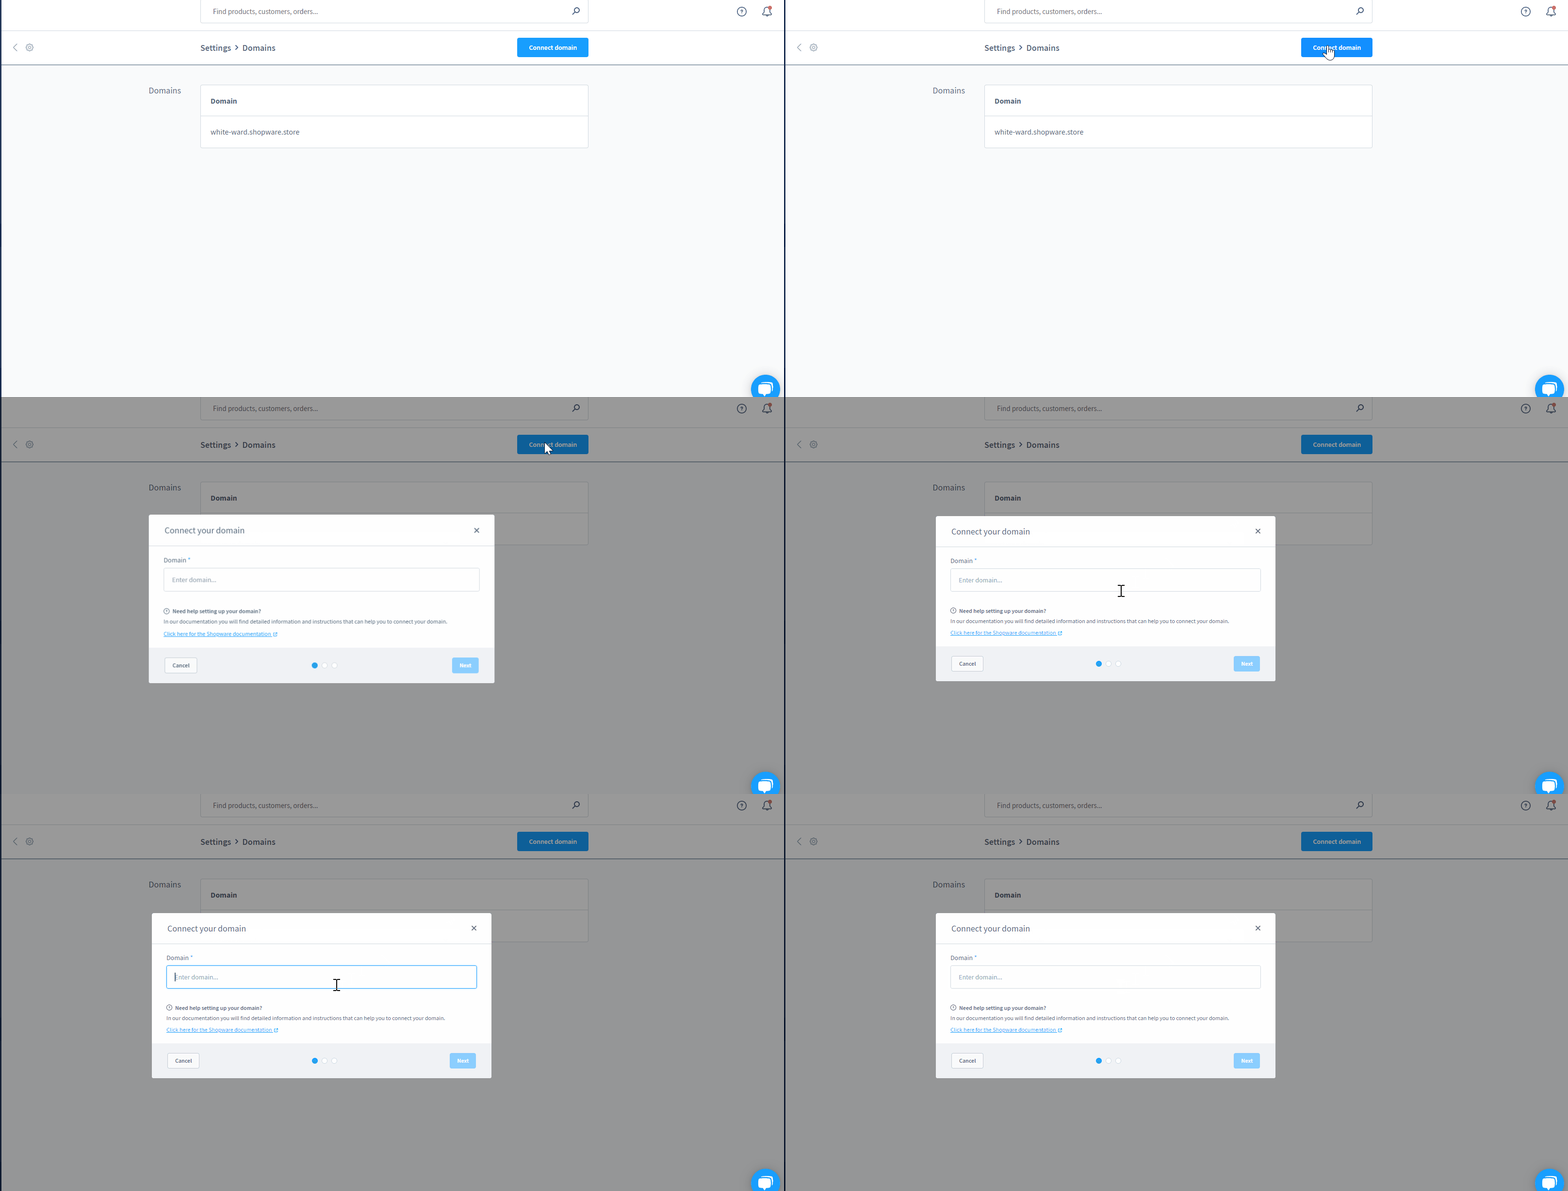
However, adding a new domain is a complex procedure, so we’ve divided it into the following sections.
Bear in mind that removing the domain present in the standard system is impossible. This limitation ensures that at least one domain can be accessed.
The first step of adding a domain in Shopwarte 6 looks as follows:
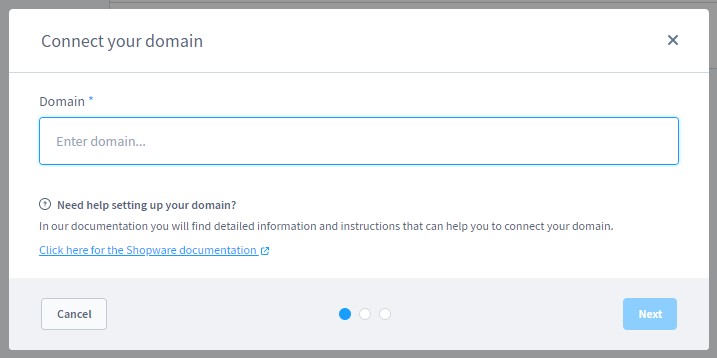
It only requires to specify the desired domain. After the corresponding URL is provided, the Next button is activated.
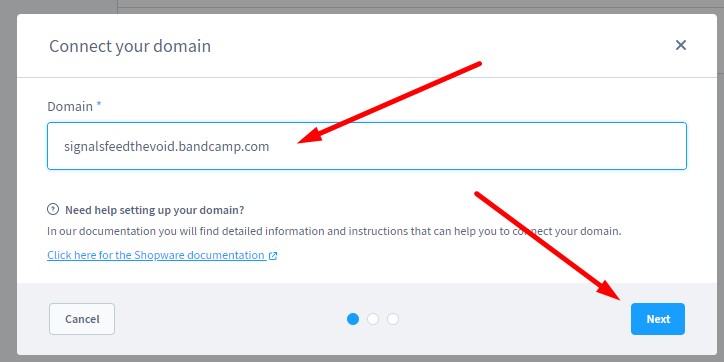
The next steps depend on the use of a normal (second-level) domain and a subdomain.
Sub-domain
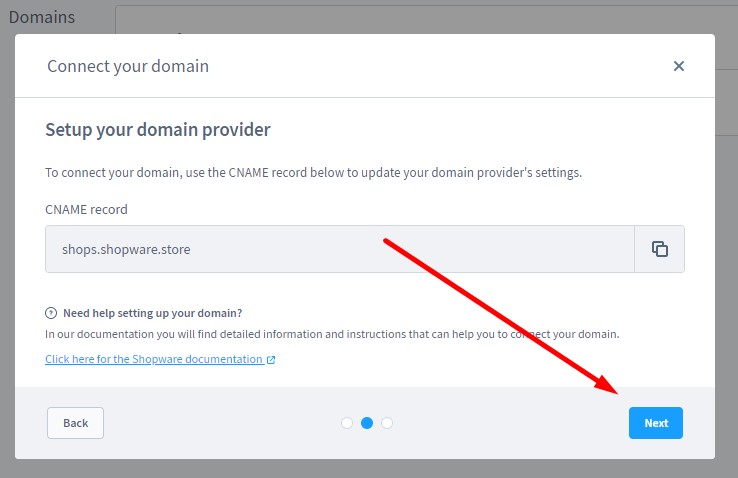
If you use a subdomain (e.g. my.shop-website.com), it is necessary to specify the CNAME to establish the connection to the shop. If you are not familiar with the term, a CNAME record or a Canonical Name record is a type of resource record used in the Domain Name System. Its purpose is to map one domain name to another: an alias name to the canonical name.
You set a CNAME record in Shopware 6 as follows:
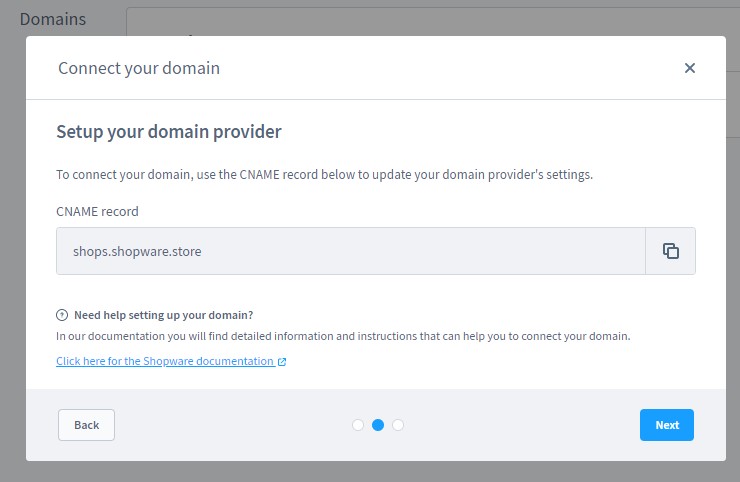
To use a subdomain in Shopware 6, configure the CNAME for the connection in the DNS configuration of your domain provider.
You should set the CNAME for the part of the subdomain – not the complete address. Peruse the documentation of your provider to get a more in-depth understanding of this configuration. Information about some key hosting providers is available here: Explanation of the DNS configuration for some hosters.
Normal (second-level) domain
If you use a normal (second-level) domain, such as myshop.com, It is necessary to set the A-record to redirect the domain to your shop. In Shopware 6, you can do that as follows:
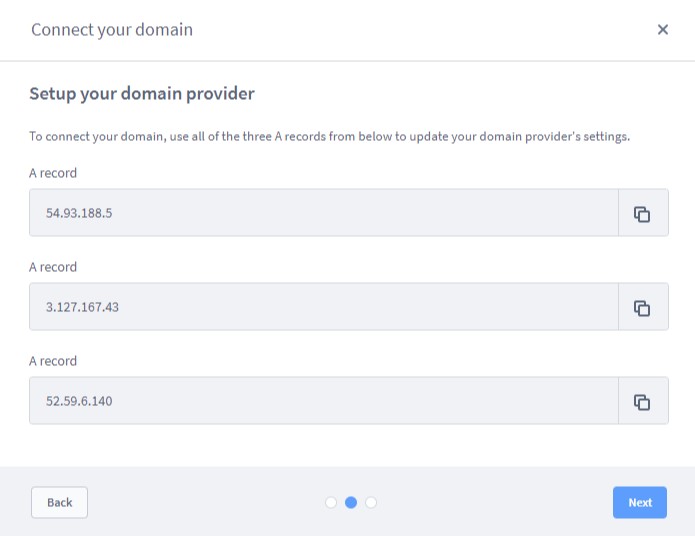
Shopware 6 lets you make your shop accessible through the additional domain. To hit this mark, it is necessary to redirect the domain to the IP addresses of the shop instance. The system lets you achieve the heist reliability since it is possible to provide up to 3 IP addresses (A-records).
Also, you need to perform a few steps at your host or domain provider. It is necessary to redirect your custom domain to at least one of the IP addresses using the A-record. Usually, changes should be applied in the DNS settings of your domain in the control panel. And once again, we should draw your attention to the documentation of your hoster/domain provider – answers to many questions are hidden there.
When the domain is guided to at least one of the IP addresses, you can proceed to the next step – verifying your domain. Note that re-running the check may require returning to the previous step and clicking the Next button.
Also, pay heed to the fact that it may also be necessary to configure the CNAME record – a process that we’ve already described above.
How to verify a domain in Shopware 6
After your domain provider is configured and all the necessary information is delivered to the system, you need to verify a new domain in Shopware 6. Simply click the Next button:
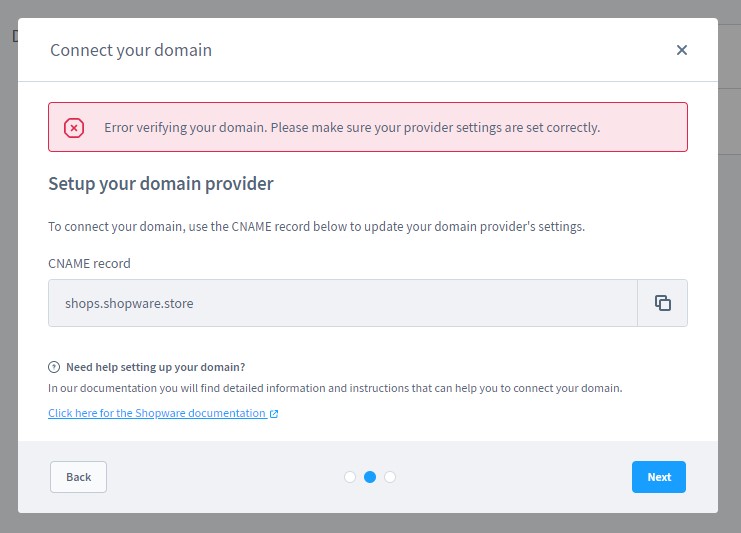
If the provided information is incorrect, you will get the following message:
The successful domain verification looks as follows:
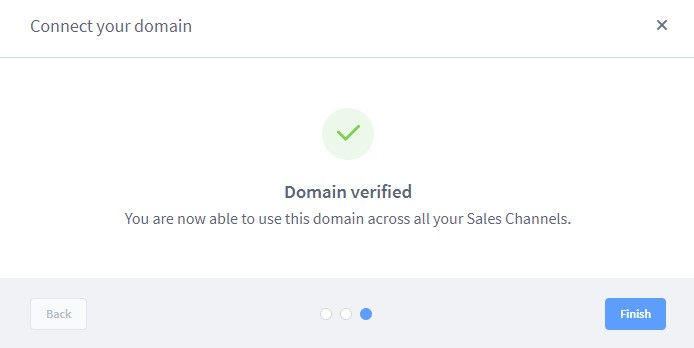
Hit the Finish button to complete the procedure and add your new domain to Shopware 6.
Also, it is worth mentioning that distributing the DNS settings usually takes some time. Therefore, the correct redirection to the shop may fail during the first few attempts.
And don’t forget to assign this domain in the sales channel configuration of your Shopware 6 website. We describe this process in another article.
How to remove an additional domain in Shopware 6
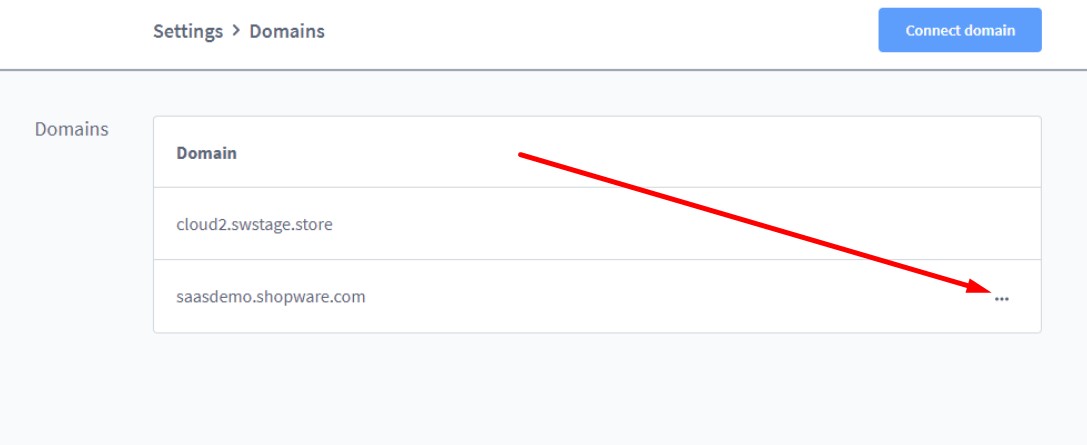
You can remove any additional domain using the context menu – the … button on the right in front of the domain name. Use the Delete option.
How to Import Store Data to Shopware 6
Our team lets you simplify and automate various processes associated with data migration to Shopware 6. Contact our support for more details and try our Improved Import & Export Extension for Shopware. You can use it to import any entities to Shopware 6 from any external platform. Please, consult our specialists before using the module for transferring any information to your website.
 ‘
‘


